If you joined our latest demo webinar, thank you for spending time with us. And if you missed it, here’s the full walkthrough in blog form — a practical, end-to-end look at how design teams use Raspberry AI to move from a rough sketch to photoreal visuals and animation, all inside one connected platform.
Hosted by Kenisha Liu with live demo led by Mandisa Foster, Head of User Enablement, this session focused on how Raspberry fits into real fashion workflows — not as a collection of isolated tools, but as one continuous creative thread.
What We Covered (In One Sentence)
A complete workflow that starts with a black-and-white sketch and ends with a short animated look — using Sketch to Render → Off-Body → Lifestyle Photography (with Character Consistency) → On-Body Presentation → Edit Module → Animate.
The Platform, at a Glance
Mandisa opened with a quick tour of the Raspberry interface and how tools are structured to mirror real design cycles. When you log in, you’ll see:
- Recent files at the top for quick access
- A left-hand toolbar with:
- Shared Library for organization-wide collaboration
- Personal Library for private assets
- History, which logs everything you generate so you can reopen any output in the exact tool state you left it
- Shared Library for organization-wide collaboration
Raspberry tools are organized into five modules, each tied to a stage of the fashion process:
- Concept – ideation, editorial scenes, product images, prints
- Presentation – turn sketches / 3D assets into polished visuals
- Edit – precise changes to silhouette and color
- Mix – remixes and fabric swaps
- On-Body – styling on models + motion
The big takeaway:
Everything stays connected, so you’re never rebuilding the same garment in multiple tools.
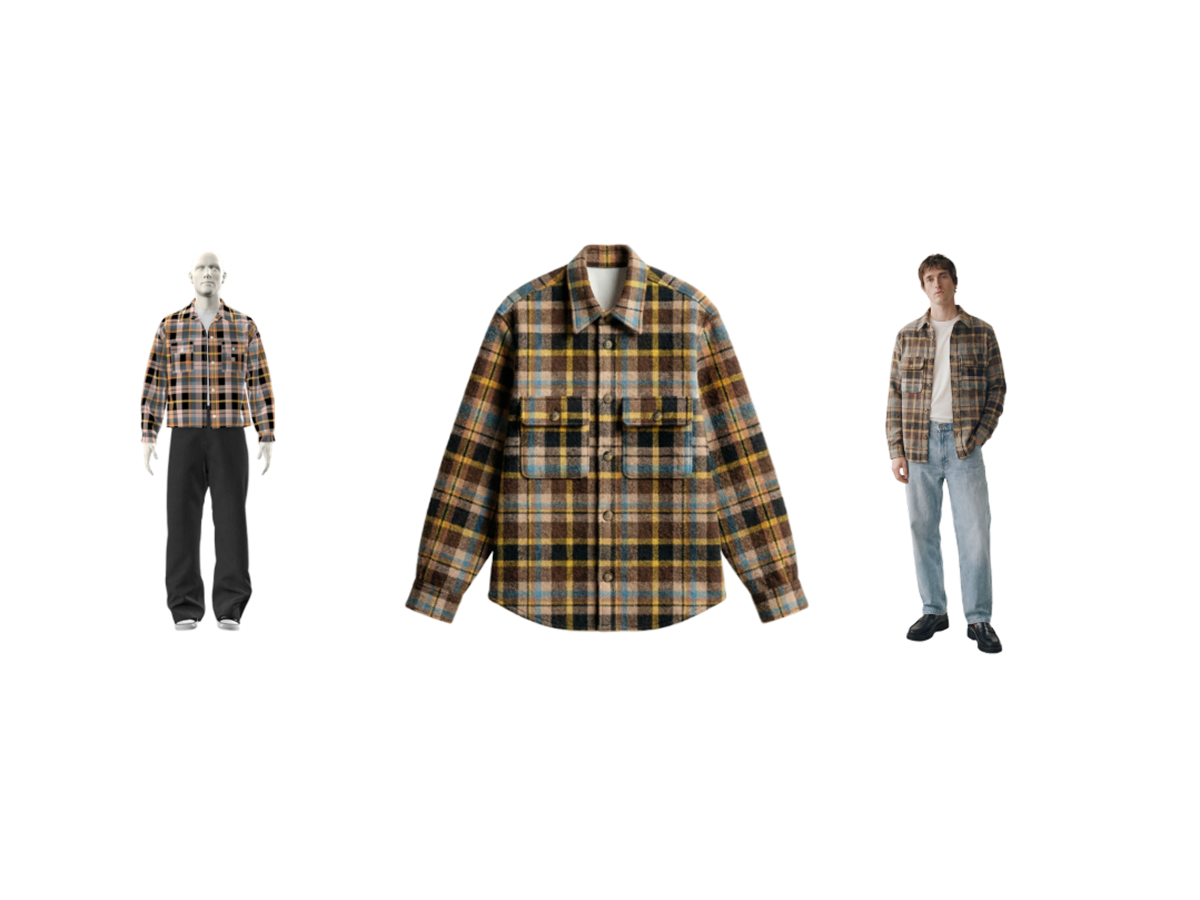
Step 1: Sketch to Render — Turn Sketches Into Photoreal Products
We started where most fashion ideas begin: a sketch.
Mandisa uploaded a rough black-and-white jacket sketch and selected:
- 2D Sketch
- Black & White mode
- Apparel sketch type
- Ghost Mannequin output for dimensional accuracy
Then she used a short, clear prompt:
“White ivory wool jacket, front view, zip closure, wide notch lapels, two front pockets, long sleeves, oversized silhouette, silver zipper placement.”
Within seconds, Raspberry produced four photoreal variants.
Why this matters:
Sketch to Render creates instant alignment. Instead of circulating a flat sketch and hoping everyone interprets it the same way, all stakeholders see the same garment immediately — reducing confusion and review churn later.
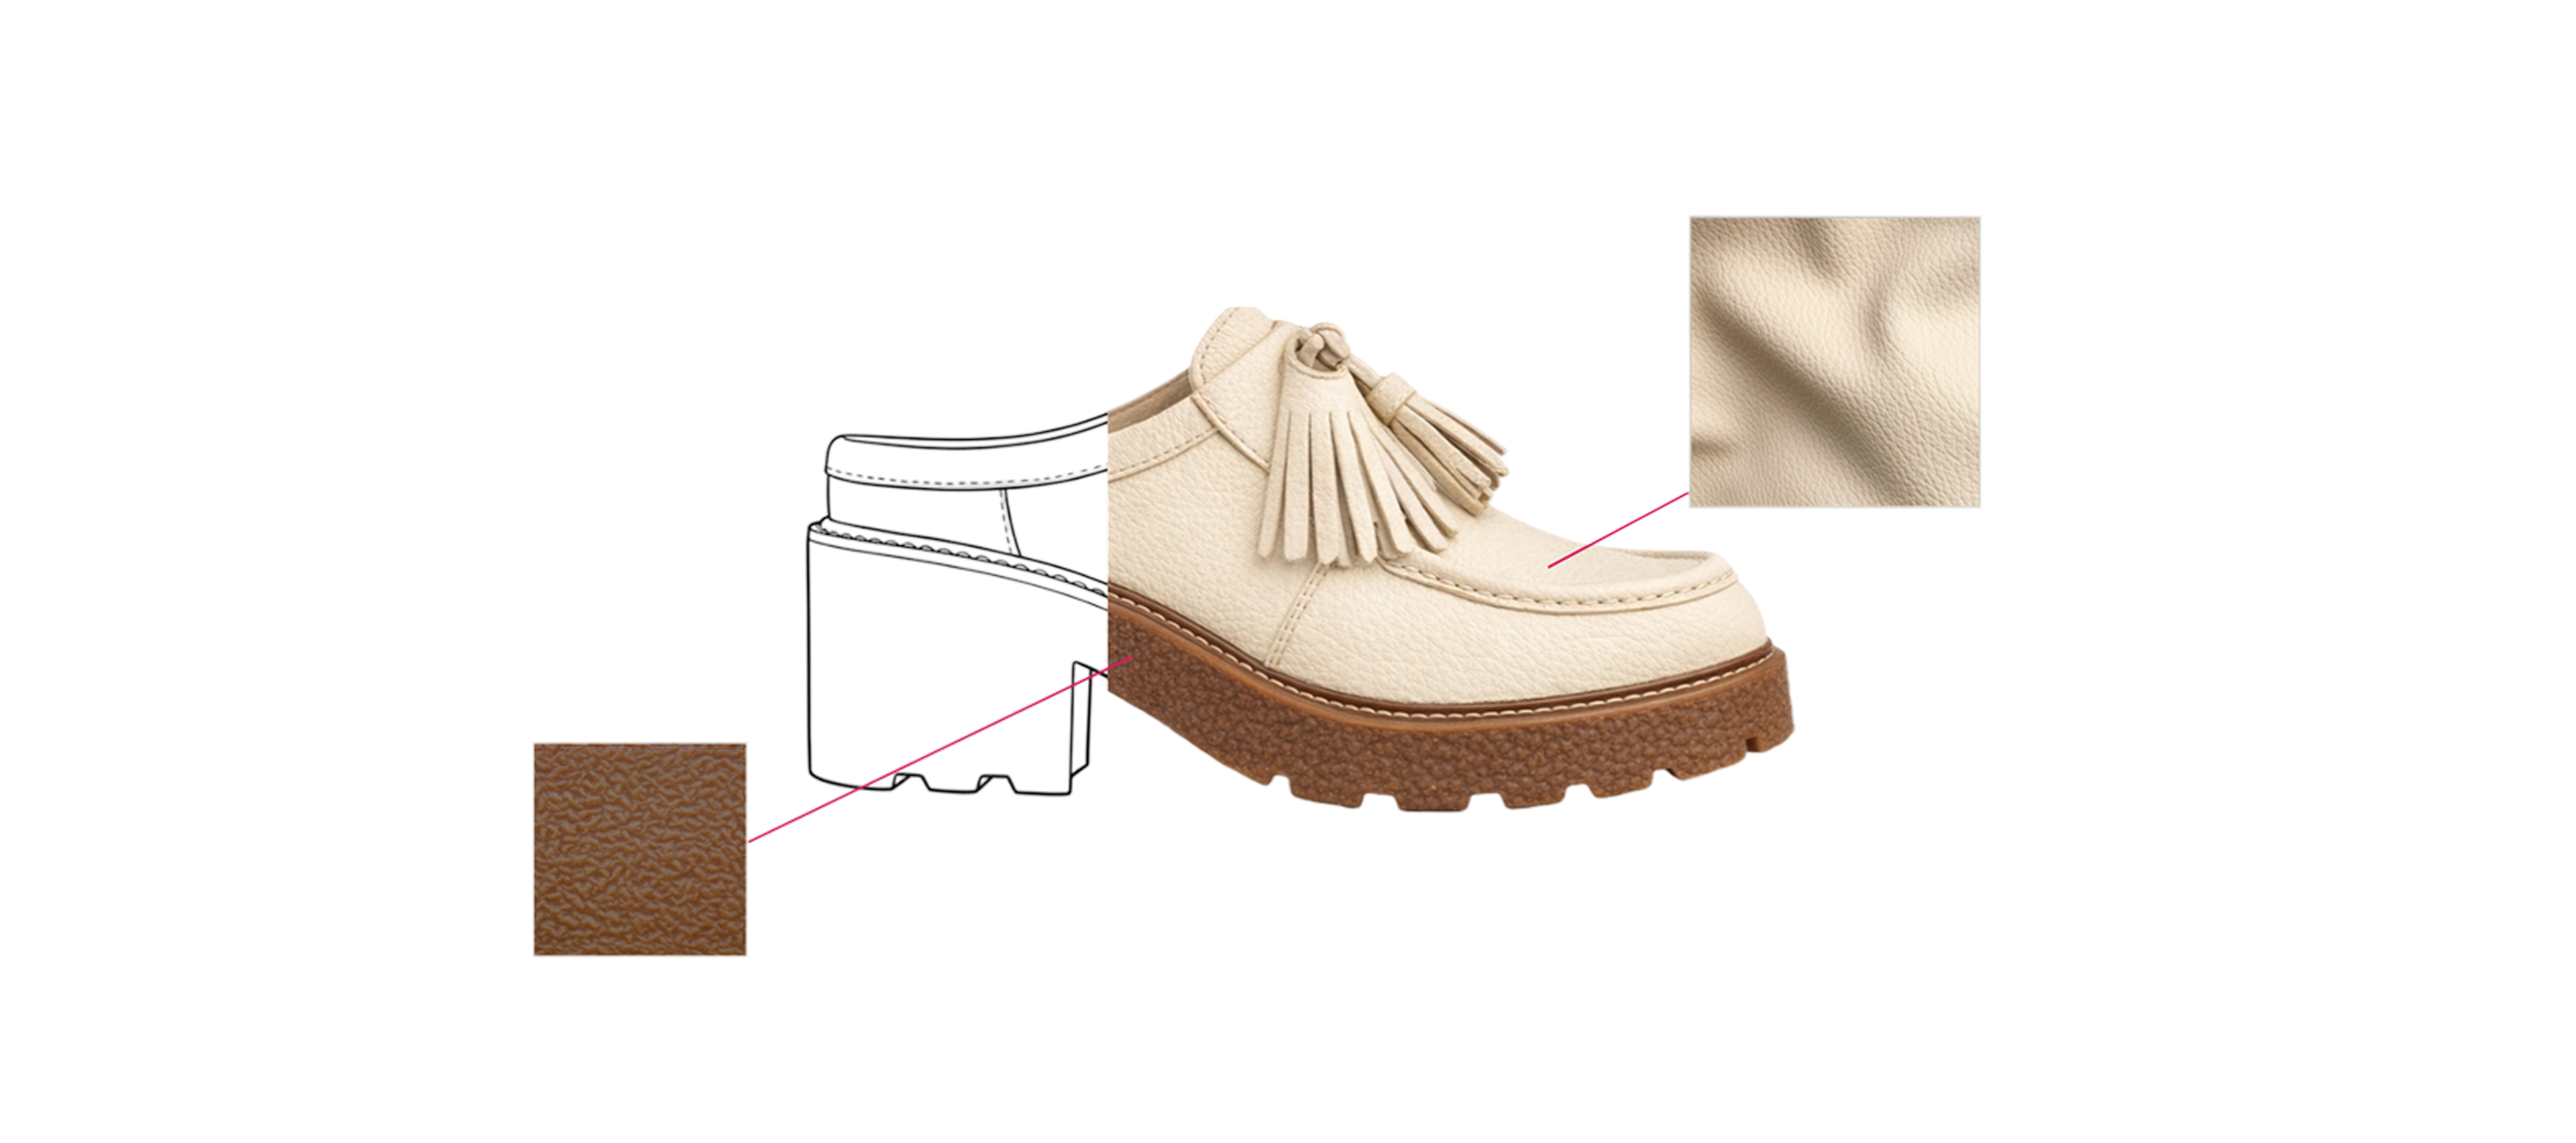
Step 2: Off-Body — Extract Clean Product Images from Inspiration
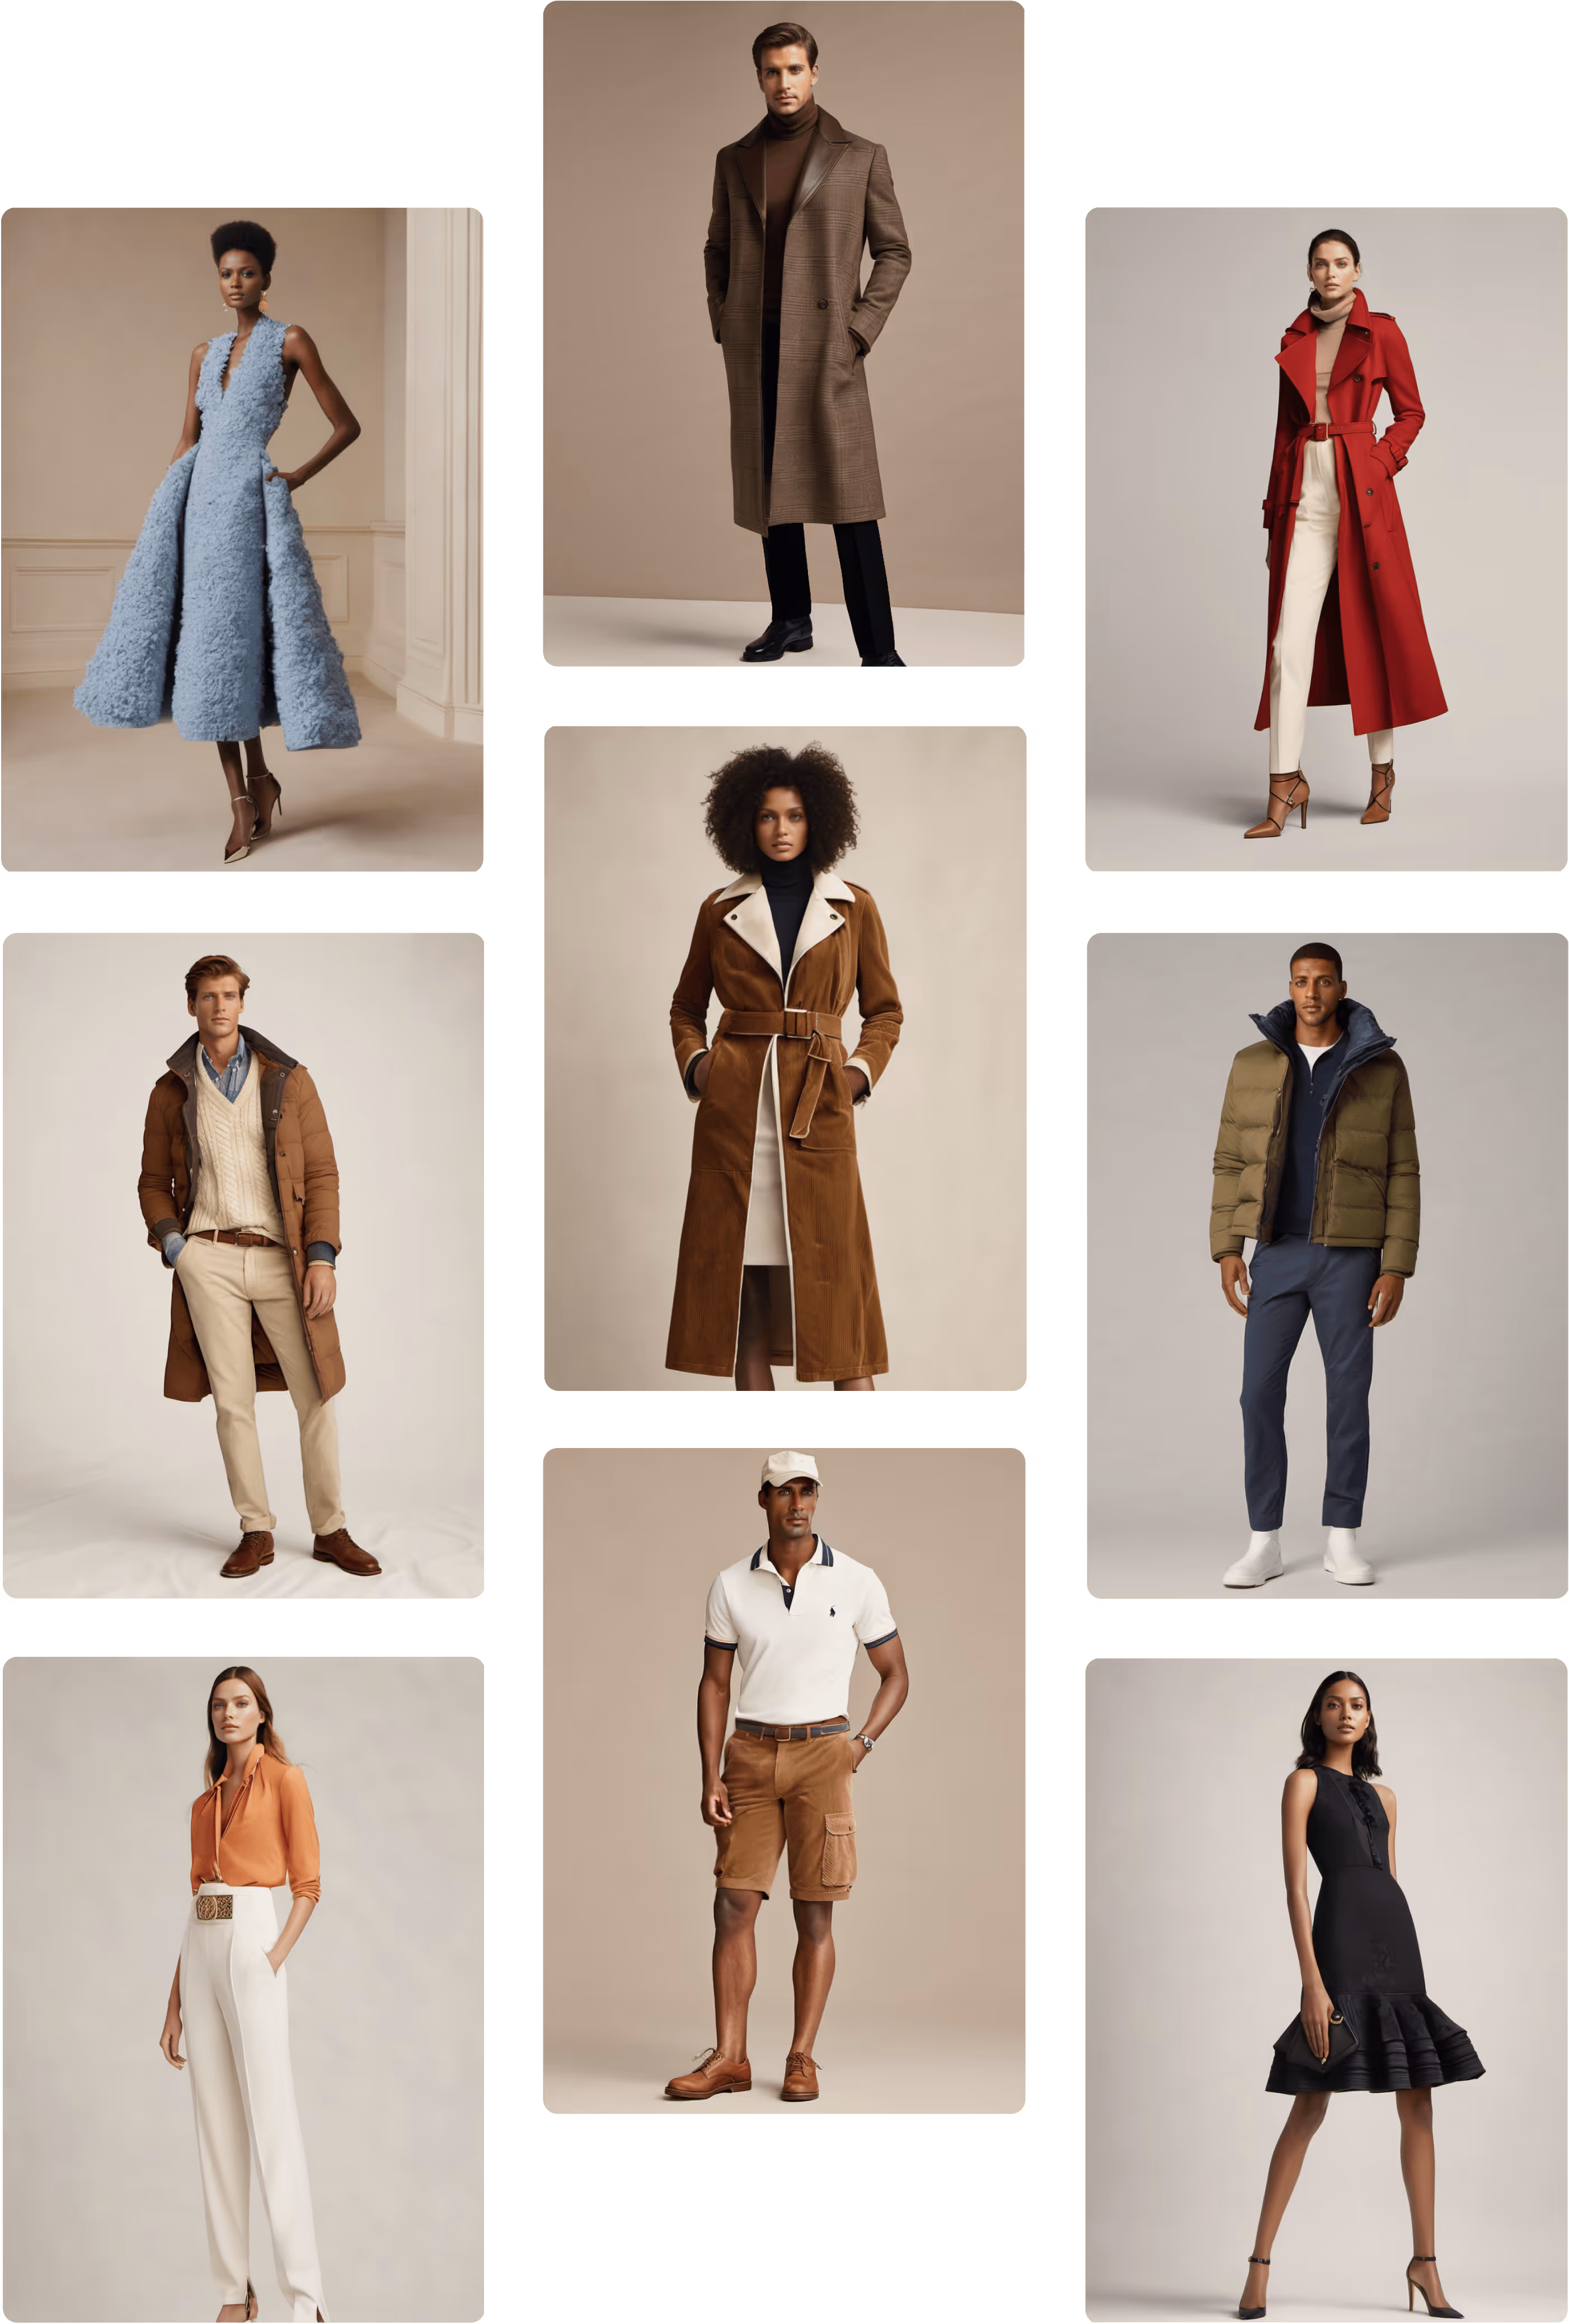
Next, Mandisa needed trousers to complete the look. She used Off-Body to isolate pants from a styled inspiration photo.
Workflow:
- Upload inspiration image
- Crop around the garment
- Click Remove Model
Result:
A clean, product-ready image of the trousers with accurate silhouette, fabric texture, and proportions.
Off-Body lets you keep the styled scene for story, while generating a clean product view for line sheets, internal reviews, decks, and e-com mockups.
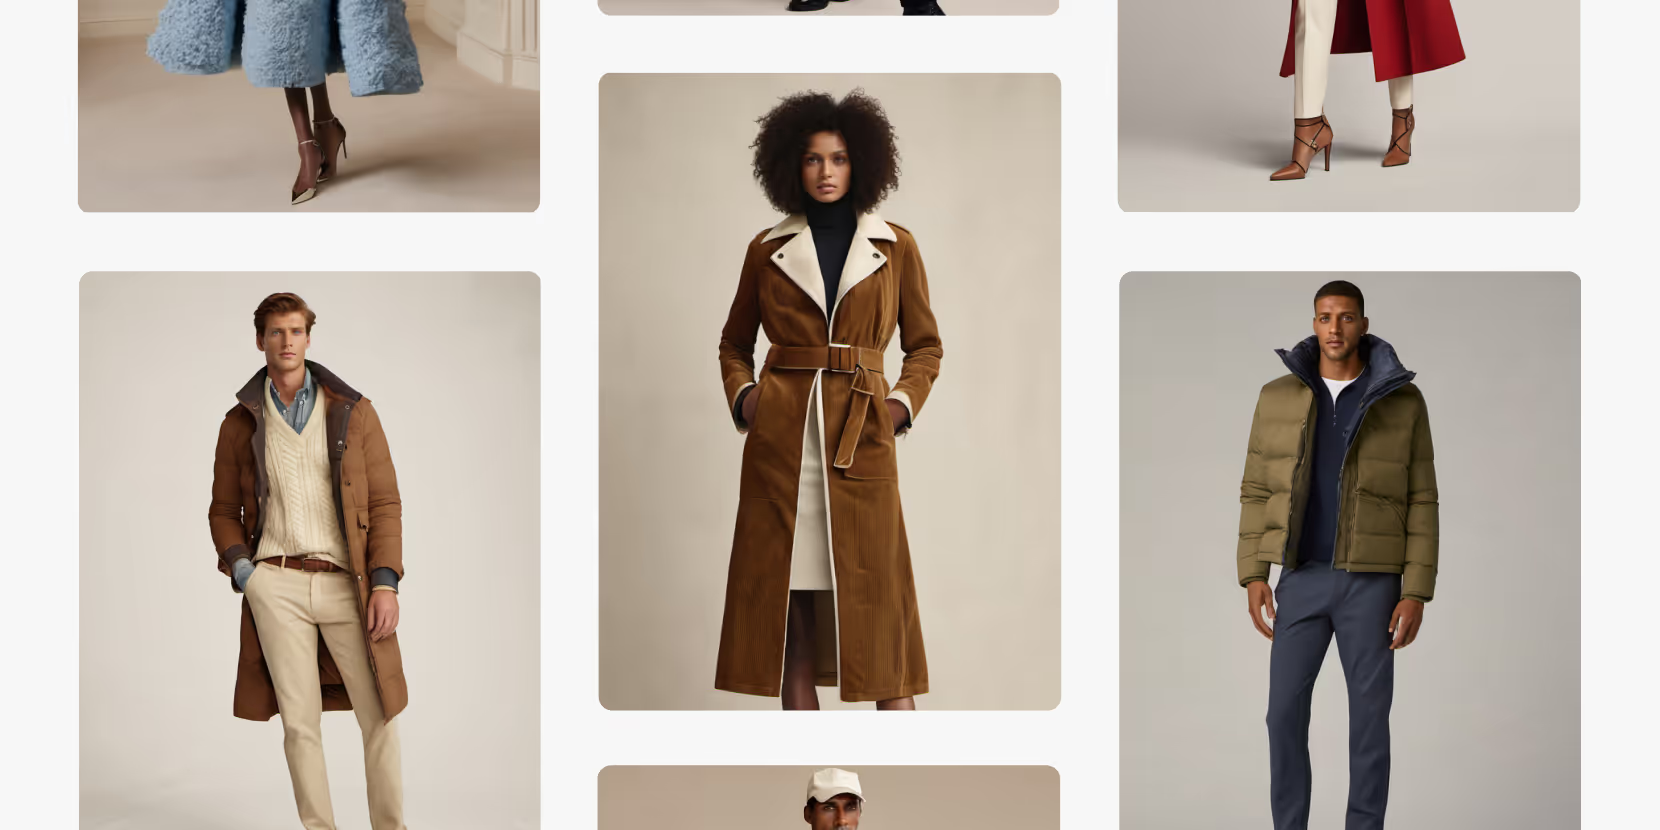
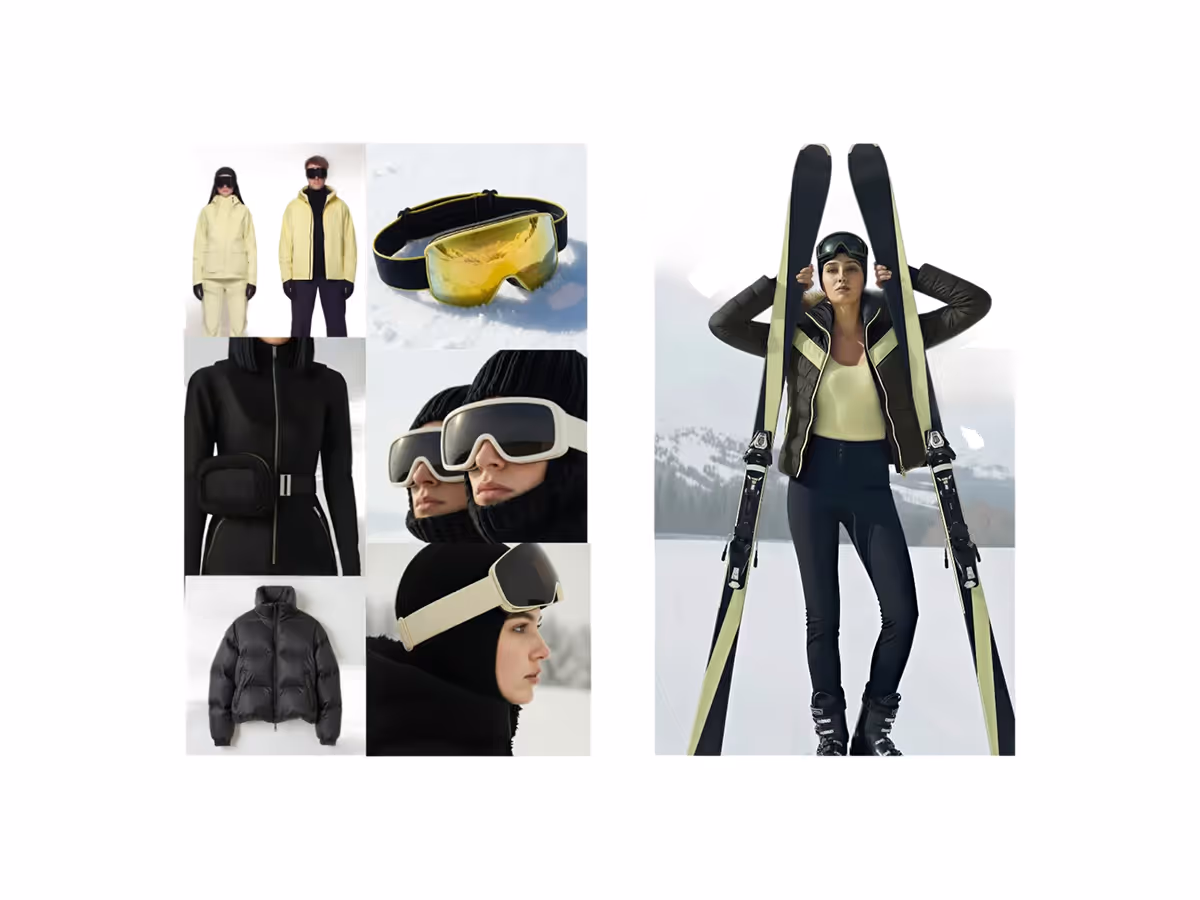
Step 3: Lifestyle Photography + Character Consistency — Build a Reusable Model
Mandisa then moved into Lifestyle Photography to create a campaign-ready model.
She:
- Prompted for a luxury model portrait
- Chose her favorite face
- Saved it to Library
- Brought that face into a full-body scene using Character Consistency
Character Consistency gives brands continuity across scenes without reshoots — ideal for:
- seasonal lookbooks
- campaigns
- decks
- brand-anchored e-commerce visuals
You can anchor a whole visual world around one AI model.
Step 4: On-Body Presentation — Dress the Model in Your Products
With the model ready, Mandisa dressed her in:
- the Sketch-to-Render jacket
- the Off-Body trousers
- boots rendered earlier
She used Beta On-Body, which allows multiple garments uploaded at once, then prompted for styling details:
“Jacket worn unzipped and open over an ivory high-neck turtleneck. Dark charcoal gray pants fall over boots naturally.”
When she noticed the shoes weren’t placed correctly, she switched to Legacy On-Body for fine-detail masking and swapped the boots in precisely.
Beta vs Legacy On-Body (quick clarity)
- Legacy On-Body: mask one garment at a time — best for precise placements
Beta On-Body:
Upload up to four garments — best for fast outfitting On-Body replaces the old “Photoshop mockup + imagination” step. Designers can explore styling, fit, and model variety without shoots or samples.
Step 5: Edit Module — Change Silhouette, Color, and Pose
Mandisa brought the dressed model into Edit to explore:
Silhouette change
She used AI Prompts to test whether the jacket could become a coat:
“Transform the short ivory wool moto jacket into a knee-length coat… keep lapel, zip, and construction.”
She reviewed 4 outputs, then decided she preferred the original jacket — and simply reverted because her original was still layered and saved.
Color change
She prompted a Pantone shift:
“Change jacket to Pantone 19-1657. Keep all other details the same.”
She used a color reference image to guide accuracy.
Face swap for crisp continuity
She swapped the original face back in so facial quality stayed sharp after edits.
Re-pose
She re-posed the model to create a new editorial angle — a subtle, controlled repositioning without reshooting.Edit lets teams validate design ideas on final styled imagery before committing to redraws or samples — major speed to clarity.
Step 6: Animate — Bring the Look to Life
Finally, Mandisa used Animate to turn stills into motion.
She uploaded:
- a starting frame
- an optional ending frame
Then prompted a subtle 5-second movement (camera-safe, presentation-ready). Output was a polished fashion motion clip suitable for:
- social
- digital showrooms
- brand decks
- e-com enhancements
Animation becomes accessible to designers directly. No motion team required; no extra pipeline needed.
The Full Workflow Recap
In under 20 minutes, Mandisa demonstrated how to:
- Render sketches to photoreal garments
- Extract clean products from inspiration
- Generate a consistent AI model
- Dress that model in your designs
- Iterate silhouette + color + pose
- Animate a finished look
All in a single platform, without rebuilding assets or tool-hopping.
The outcomes:
- Speed: idea → motion in minutes, not weeks
- Alignment: everyone sees the same product truth
- Consistency: same garment + model across use cases
Flexibility: explore design and story options without starting over
Top Q&A Themes (Quick Answers)
Prompting vs. masking for garment changes?
If it’s a full garment change, prompting is better. Masking is best for targeted edits.
Can you stay on brand?
Yes — Raspberry emphasizes visual and prompt inputs, fashion-trained language, Character Consistency, and Edit refinement. Mature teams build repeatable “brand recipes.”
Are AI models unique and safe to use commercially?
Yes — models are generated uniquely each time, with rights for use in e-com and campaigns.
Can you create accessories like bags or glasses?
Absolutely — Sketch to Render, Edit, and On-Body all support accessories.
Are prints production ready?
They generate like a print studio output — seamless repeats you can export (PNG or SVG) and refine in Illustrator/Photoshop.
Do you need to overhaul your workflow?
No. Most teams start small with 1–2 workflows and expand naturally. Raspberry integrates alongside existing tools.
Want a Personalized Workflow Demo?
If the webinar sparked ideas, we’d love to go deeper with your specific use case — whether that’s prints, best-seller iteration, PDP content, or full concept-to-campaign workflows.
Book a demo through the QR code shared in the session, and we’ll tailor it to your team.
Thanks again for joining us — and keep an eye out for weekly releases as Raspberry keeps evolving right alongside your workflow.
Heading 1
Heading 2
Heading 3
Heading 4
Heading 5
Heading 6
Lorem ipsum dolor sit amet, consectetur adipiscing elit, sed do eiusmod tempor incididunt ut labore et dolore magna aliqua. Ut enim ad minim veniam, quis nostrud exercitation ullamco laboris nisi ut aliquip ex ea commodo consequat. Duis aute irure dolor in reprehenderit in voluptate velit esse cillum dolore eu fugiat nulla pariatur.
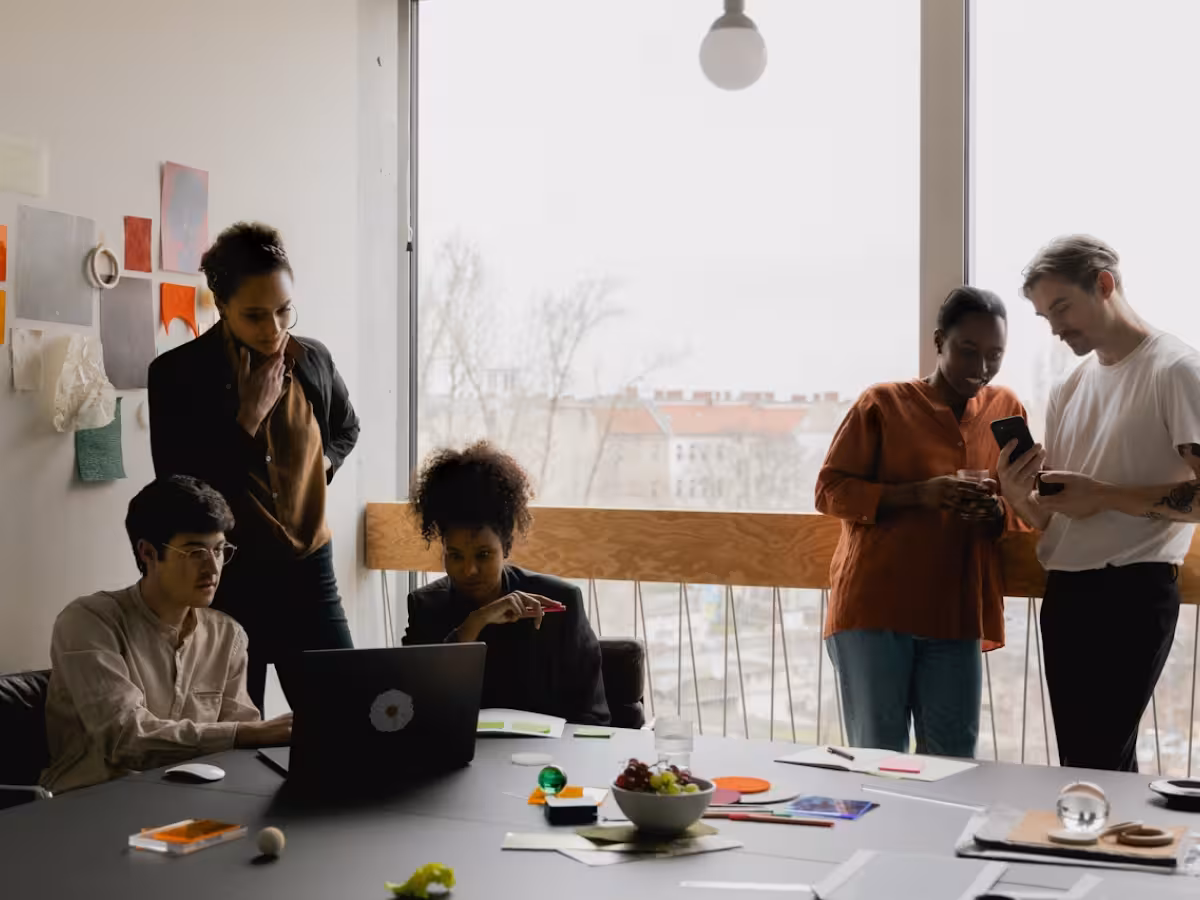
Merchandising and design now create together live in meetings—no more weeks of back and forth.”
[[VP of Merchandising] blog-quote-ttl]
[[$30M alternative eCommerce fashion retailer] blog-quote-subttl]
Quote Name Style
Ordered list
- Item 1
- Item 2
- Item 3
Unordered list
- Item A
- Item B
- Item C
Bold text
Emphasis
Superscript
Subscript

5 Requirements for an Enterprise-Grade Generative AI Design Platform
Raspberry × Browzwear: AI to 3D Garment Workflow
Connect AI-powered design with 3D garment workflows. Learn how Raspberry and Browzwear integrate to streamline digital product creation.
Instantly Turn Your Moodboards into High Quality Visuals with Raspberry AI
Turn fashion moodboards into luxury editorial, runway, lookbook, and street style images in minutes using Raspberry AI’s Edit module and custom prompts.
Sign Up for Our Newsletter
We’re constantly enhancing our product. Stay informed with the latest updates.
Ready to Design Smarter, Faster, and at Scale?
Start creating stunning photorealistic designs in just a few clicks.