
How to Render Accessories with Realism and Precision in Raspberry AI
If you’ve been exploring Raspberry AI’s Sketch to Render feature, you may have already seen how powerful it is for turning apparel sketches into lifelike visuals. Now, with the Enhanced Accessories Mode, you can bring the same level of realism and precision to handbags, hats, jewelry, and footwear — complete with smarter detailing, material rendering, and on-body styling options.
Whether you’re creating concept visuals for a presentation, populating PDP images, or animating a product story, this guide will show you exactly how to go from flat sketch → photoreal render → on-model visualization → animated output, all within Raspberry AI.
Why Enhanced Accessories Mode Matters
Accessory design has always required nuance — proportions, materials, and light reflections matter more than ever. The new Accessories Mode in Sketch to Render gives you:
- Sharper detail control for trims, hardware, and surface finishes.
- Ghost mannequin rendering for professional-grade product outputs.
- Seamless compatibility with Raspberry’s Lifestyle Photography, Edit Module, On-Body, and Animate tools.
- Multi-View generation for multiple consistent angles to boost PDP conversions.
Watch the full workflow for an accessory.
Step-by-Step: From Sketch to Render
1. Upload Your Sketch
Start in Sketch to Render.
If your design was created in Adobe Illustrator, export your sketch and upload it into Raspberry AI.
Select:
- Black & White Option for optimal line clarity
- Ghost Mannequin Output — this gives the best isolated accessory render
Watch a deep dive on the Sketch to Render tool.
2. Refine Your Prompt
Raspberry AI will suggest a default prompt based on your sketch. Refine it with key details like color, fabrication, and finish.
Pro Tip:
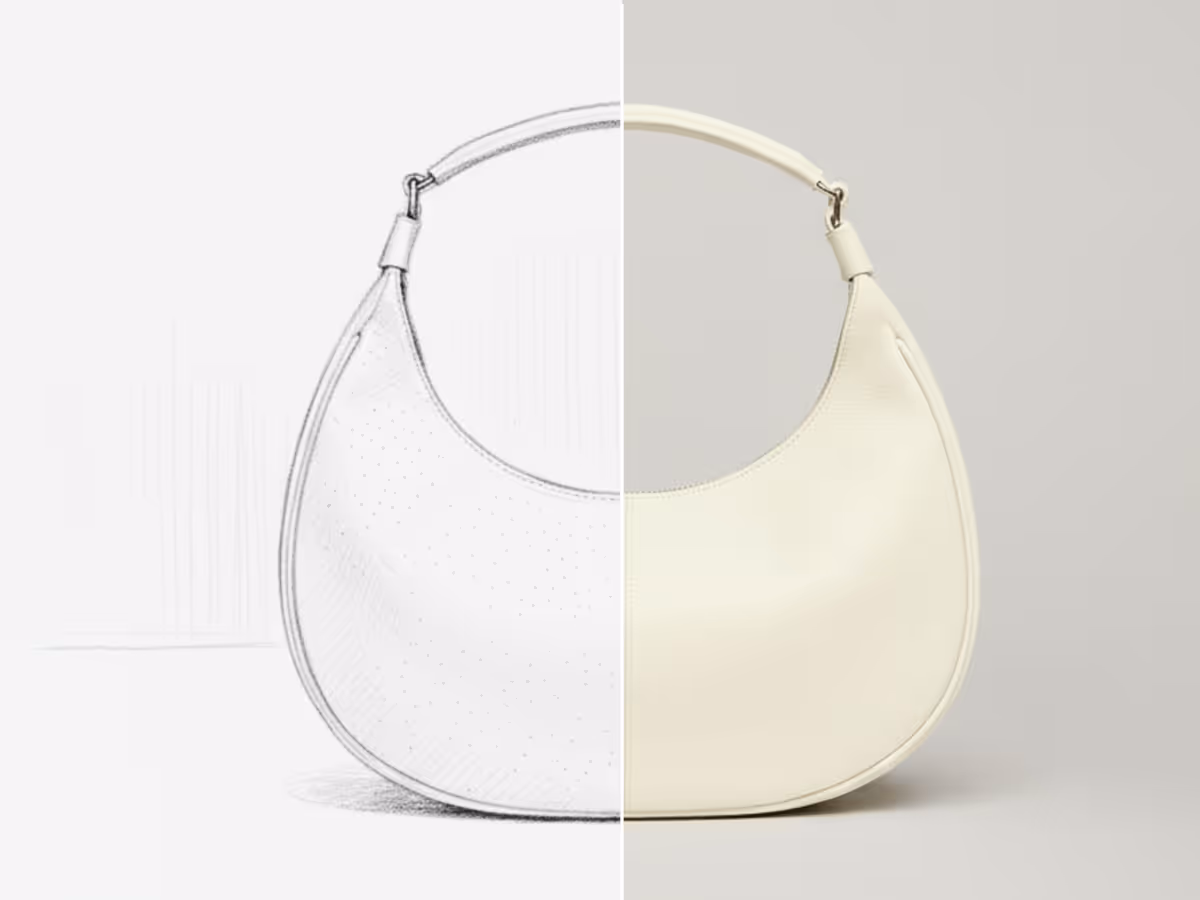
A strong handbag prompt includes six essentials:
- Color & Material (e.g., navy leather, ivory suede)
- Silhouette (e.g., crescent, tote, backpack)
- Construction (e.g., flap top, structured or slouchy shape)
- Hardware (e.g., zipper, buckle, clasp)
- Straps/Handles (length, style, placement)
- Texture or Finish (smooth, pebbled, glossy, patent, etc.)
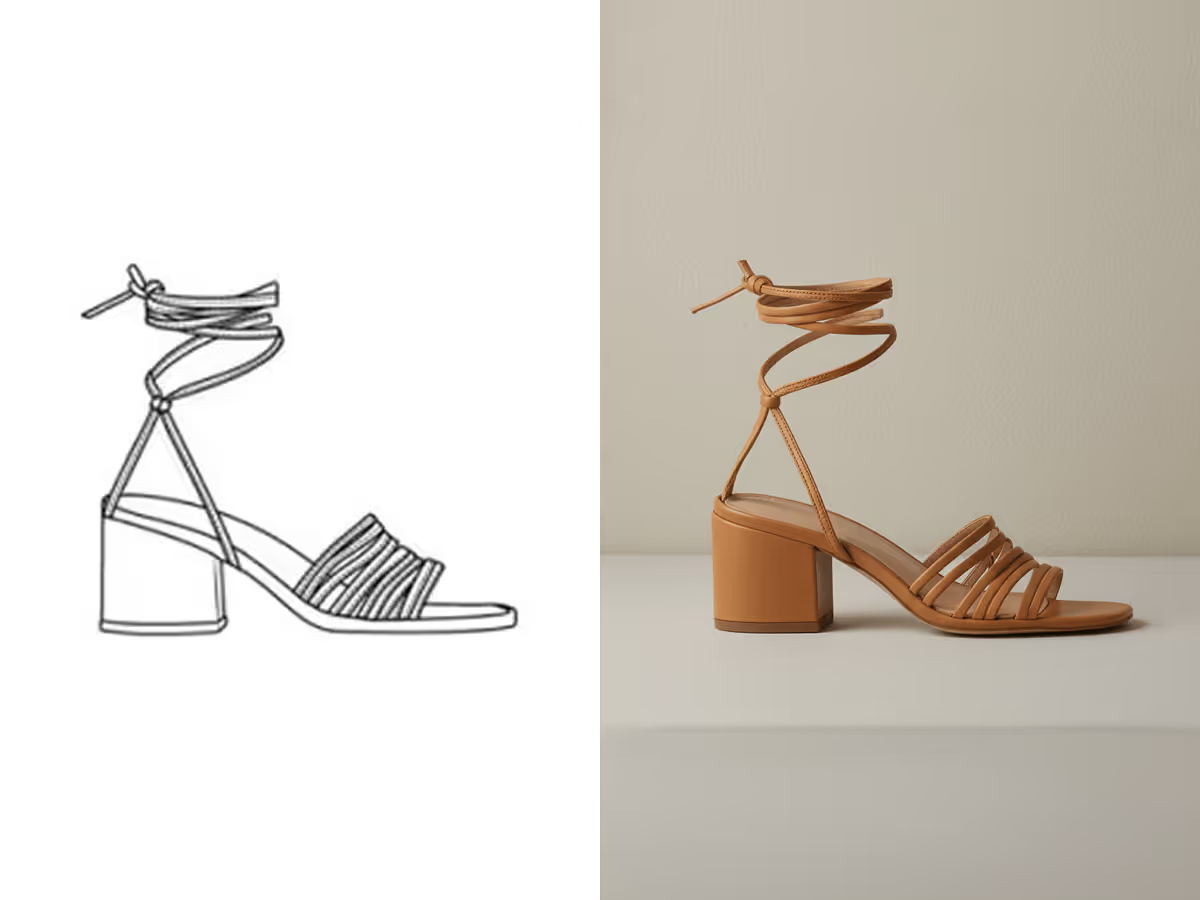
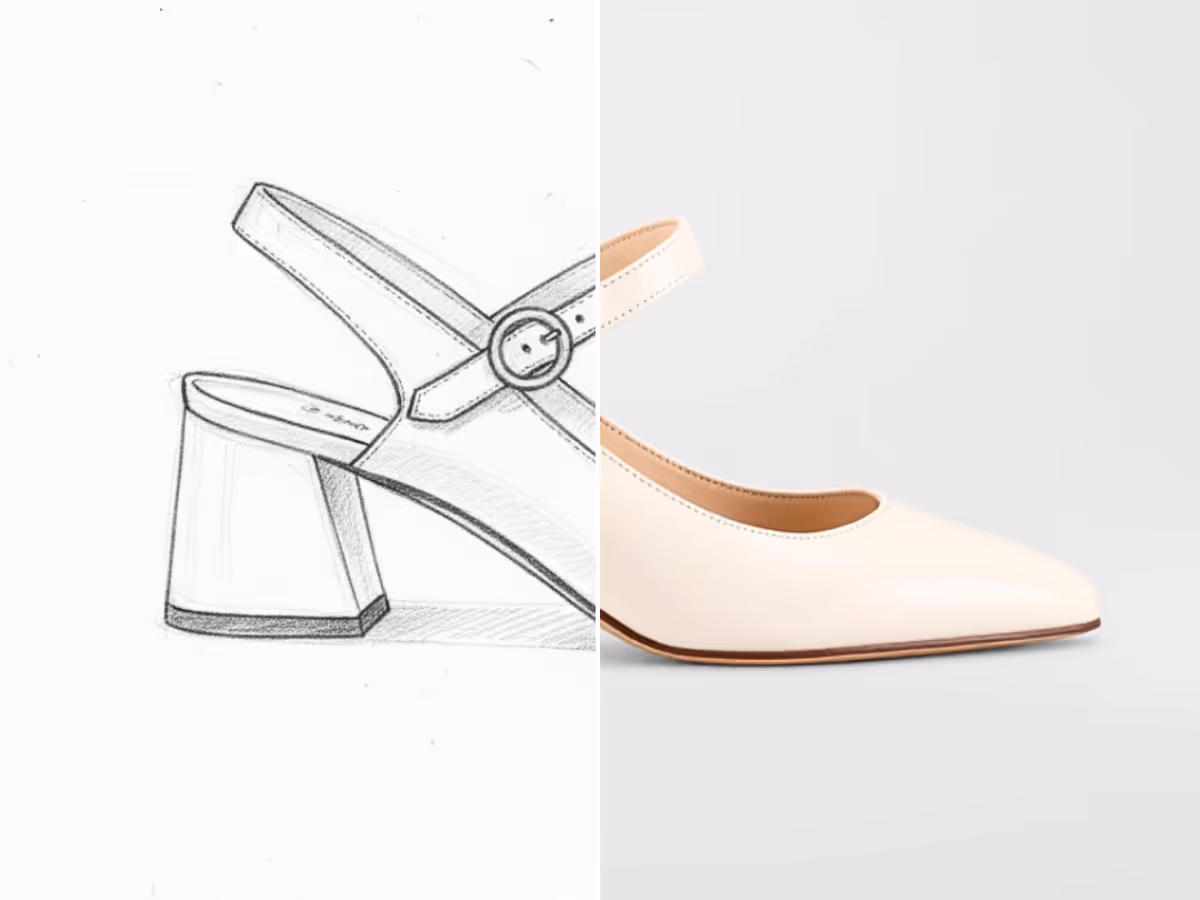
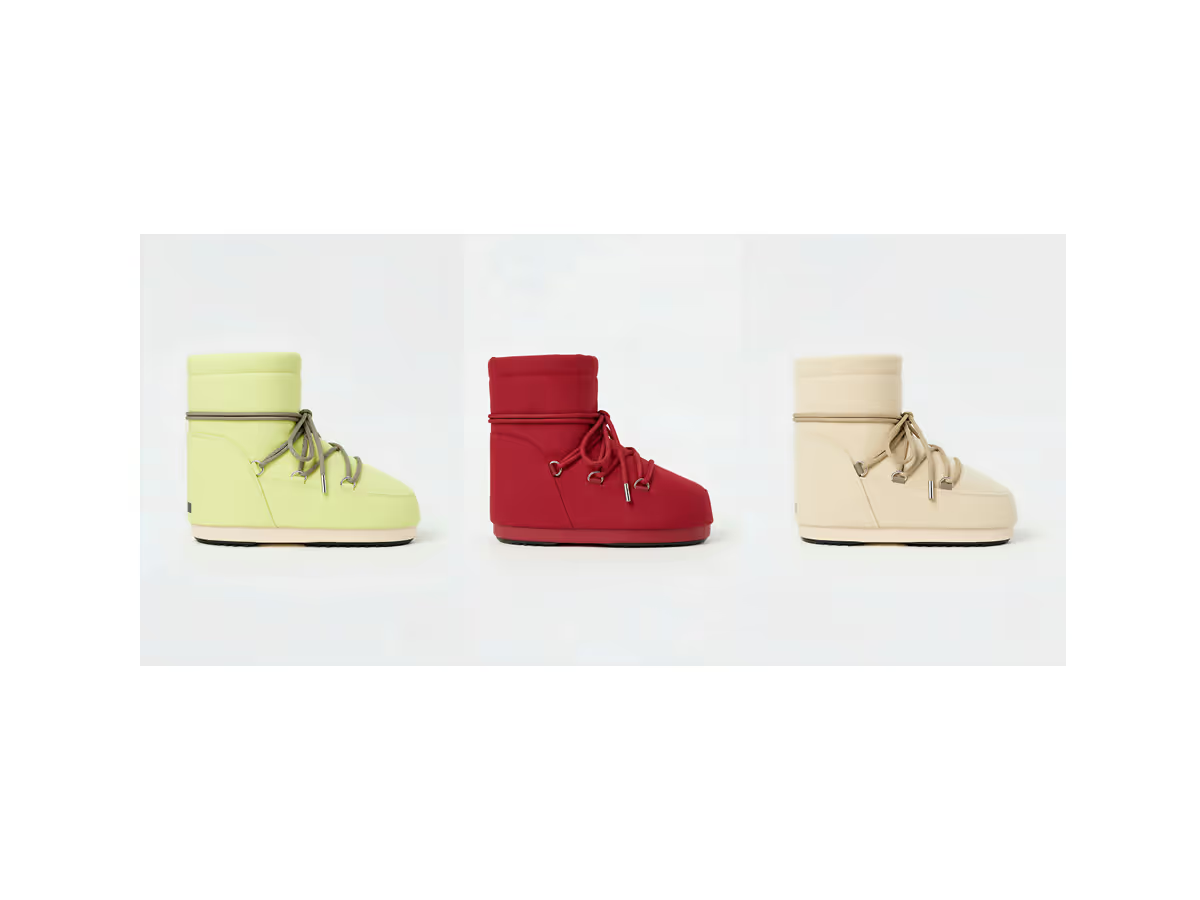
A strong footwear prompt includes six essentials:
- Color & Material (e.g., navy leather, ivory suede)
- Shoe type (e.g., Mary Janes, Flats, High tops, Motorcycle Boots)
- Construction (e.g., Pointed toe, almond toe, knee high)
- Hardware and Laces (e.g., buckle, velcro, chord laces)
- Heel + sole (e.g., kitten heel, leather soles, rubber soles)
- Texture or Finish (glossy, patent, etc.)
Learn more about how to prompt for footwear with Sketch to Render.
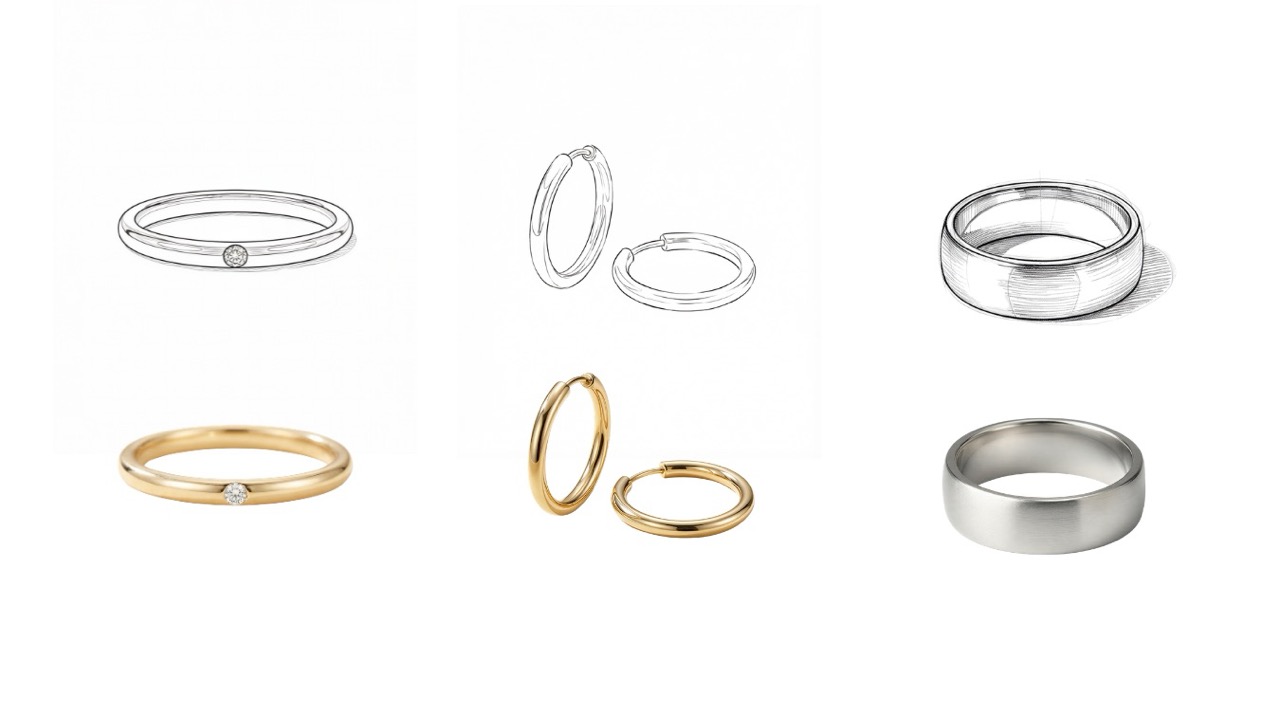
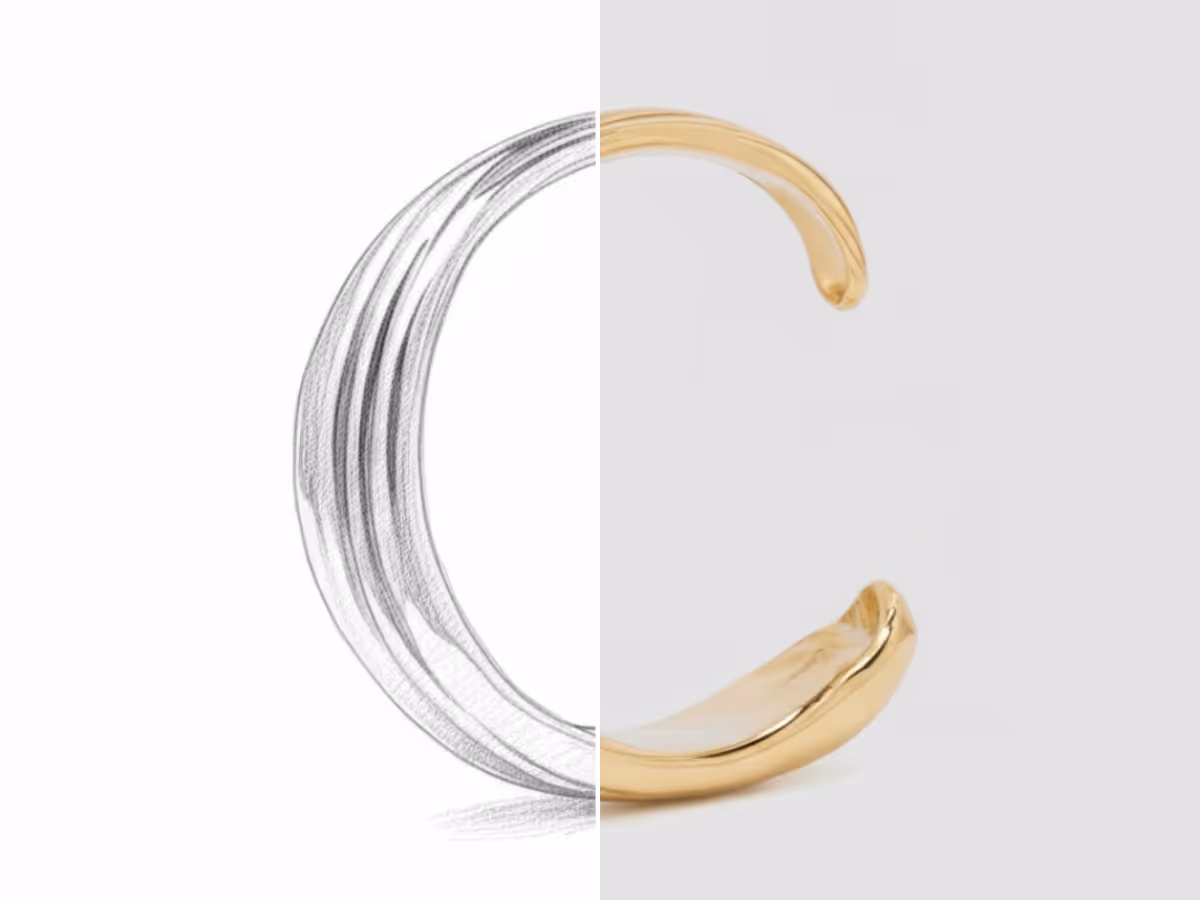
A strong jewelry prompt includes six essentials:
- Color & Material (e.g., white gold, blue sapphire, titanium)
- Jewelry type (e.g., ring, necklace, watch)
- Element + shape (e.g., princess cut, emerald cut, tear drop)
- Construction (e.g., beading, enamel, engraved)
- Size proportion (e.g., 18 inch chain, 0.81 gauge piercing)
- Finish (e.g., polished, matte, hammered)
Learn more about how to prompt for jewelry in Sketch to Render.
Click Generate, and Raspberry will produce multiple photoreal render options. Choose your favorite and save it to your library.
3. Bring Your Render to Life
Once you have your render, you can visualize it in two different ways depending on your creative goal:
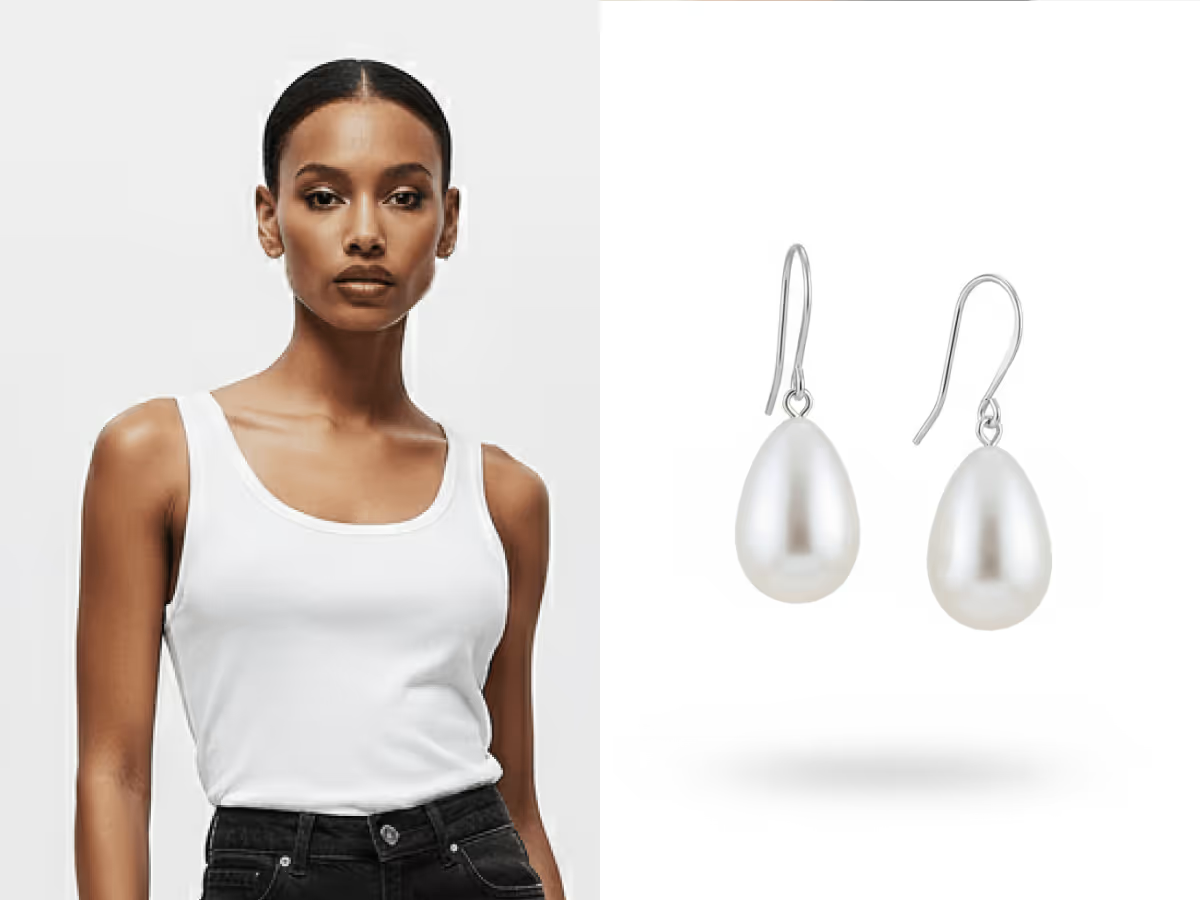
Workflow 1: Lifestyle Photography + Edit Module
Ideal for editorial or product-focused presentations.
- In Lifestyle Photography, prompt for a product scene:
“Close up shot of a woman with a slicked back bun turned to look at the camera over her shoulder with gold earrings. lifestyle editorial shot, plant in background.”
Use Prompt Assist to refine composition, lighting, and environment.

- Once you’ve generated the image, open it in the Edit Module.
- Upload your Sketch to Render output as a reference image.
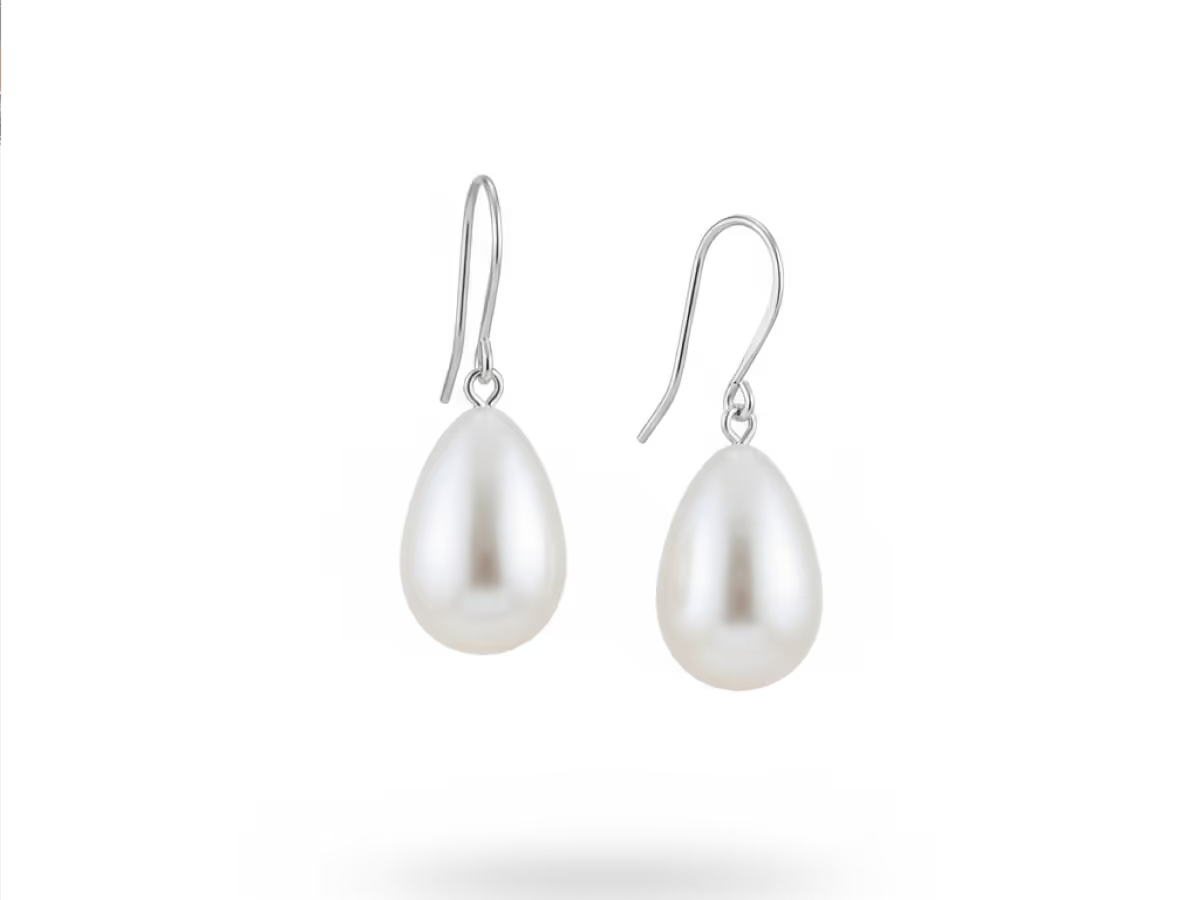
- Prompt to add the item to the image
“Swap earrings with reference image. Keep everything else the same.”
- Adjust lighting, placement, or shadows using natural language prompts (“shift slightly left,” “soften light”).
- Confirm and merge your layers for a polished editorial visual.
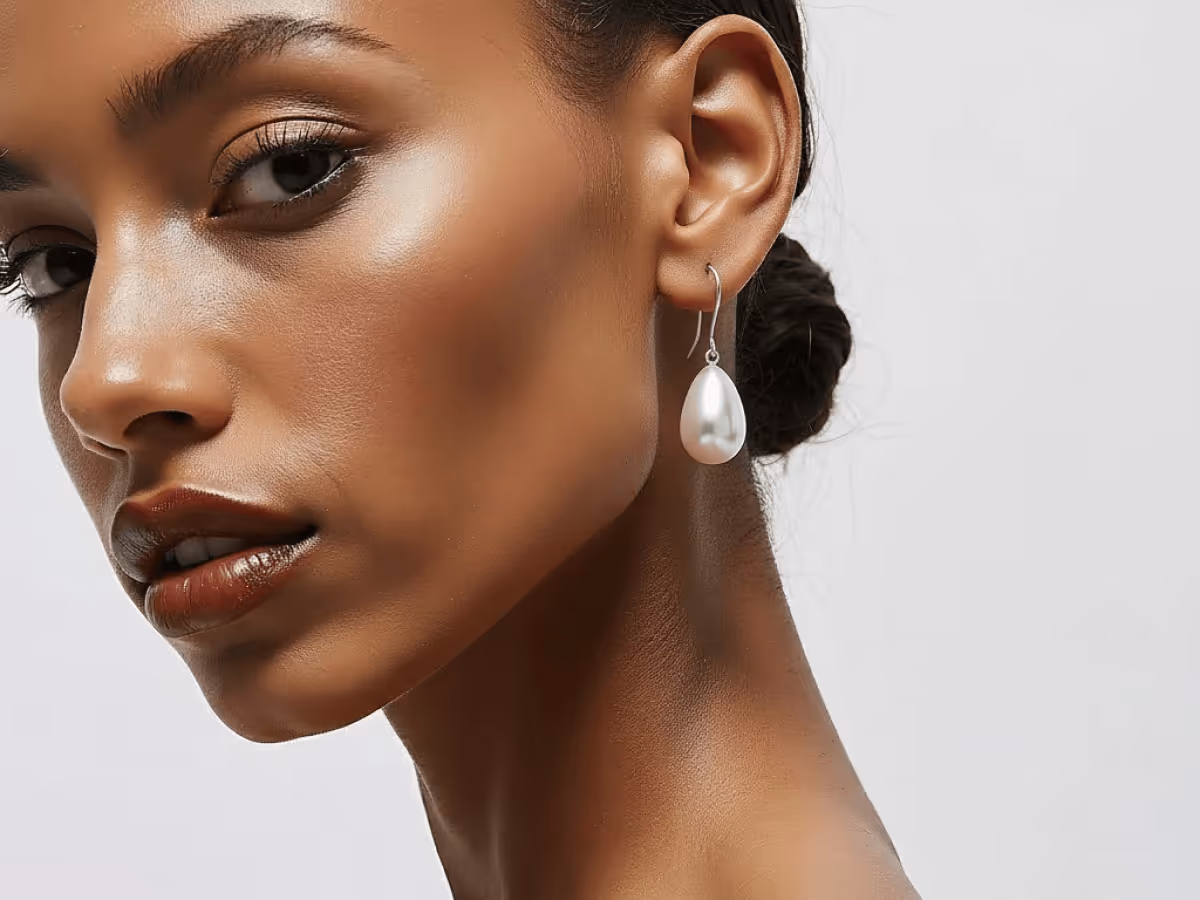
Workflow 2: On-Body Presentation (Alternative Approach)
Best for realistic product styling or campaign visuals.
- In On-Body Presentation, upload both the model image and your rendered accessory.
- Click Generate to see your model styled with the rendered product.
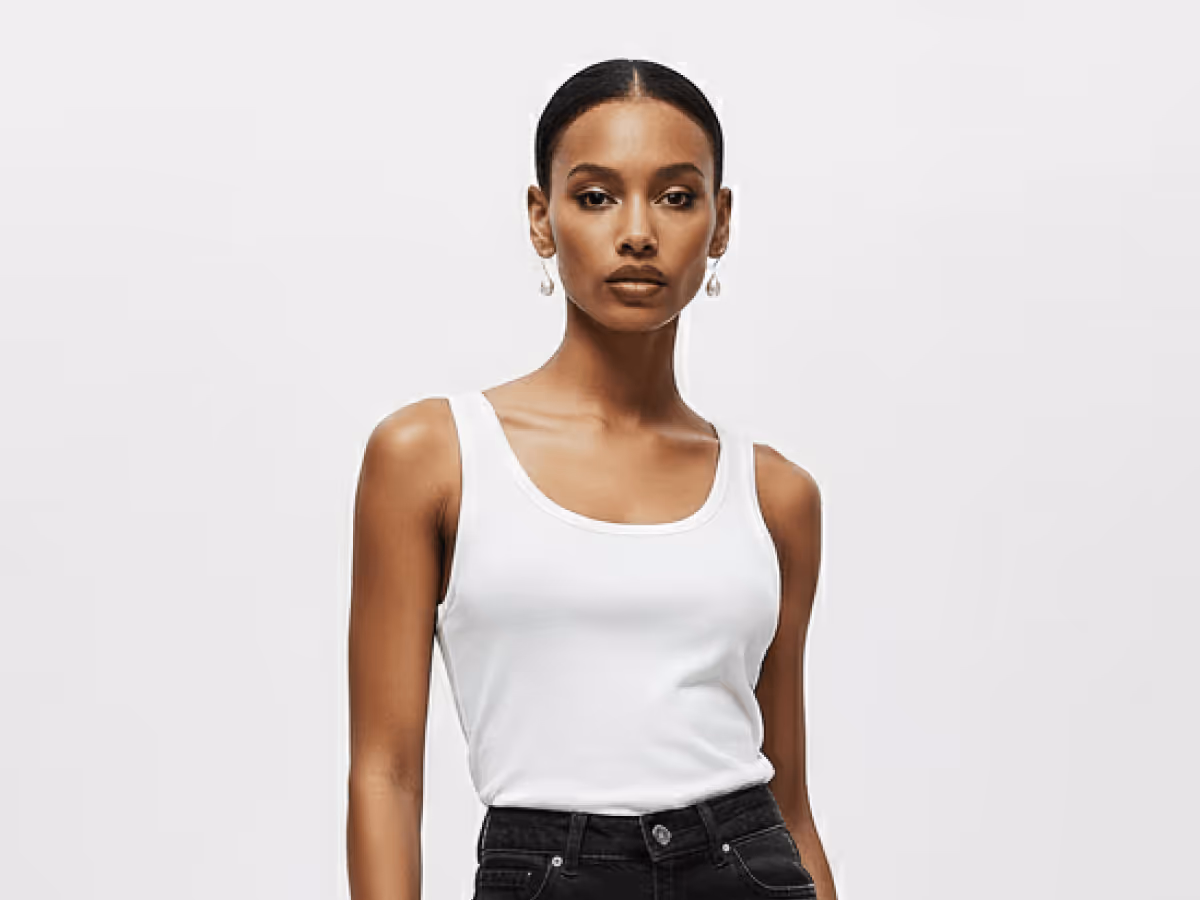
- Optionally, upscale the output to 2K or 4K resolution for crisp results.
This route is great when you want to show your accessory in context — as part of a look or modeled editorial shot.
4. Animate Your Accessory
Finally, bring your image to life in Animate.
- Upload your image.
- Write a natural prompt for motion — for example:
“Model turns and walks away. Camera slowly zooms in on the backpack.” - Choose your resolution and clip length (5 or 10 seconds).
- Click Generate.
Pro Tip:
If your animation zooms in, start with the product well centered to avoid awkward cropping.
When it’s done, download your animation as an MP4 or a looping GIF — perfect for social content, portfolios, or client presentations.
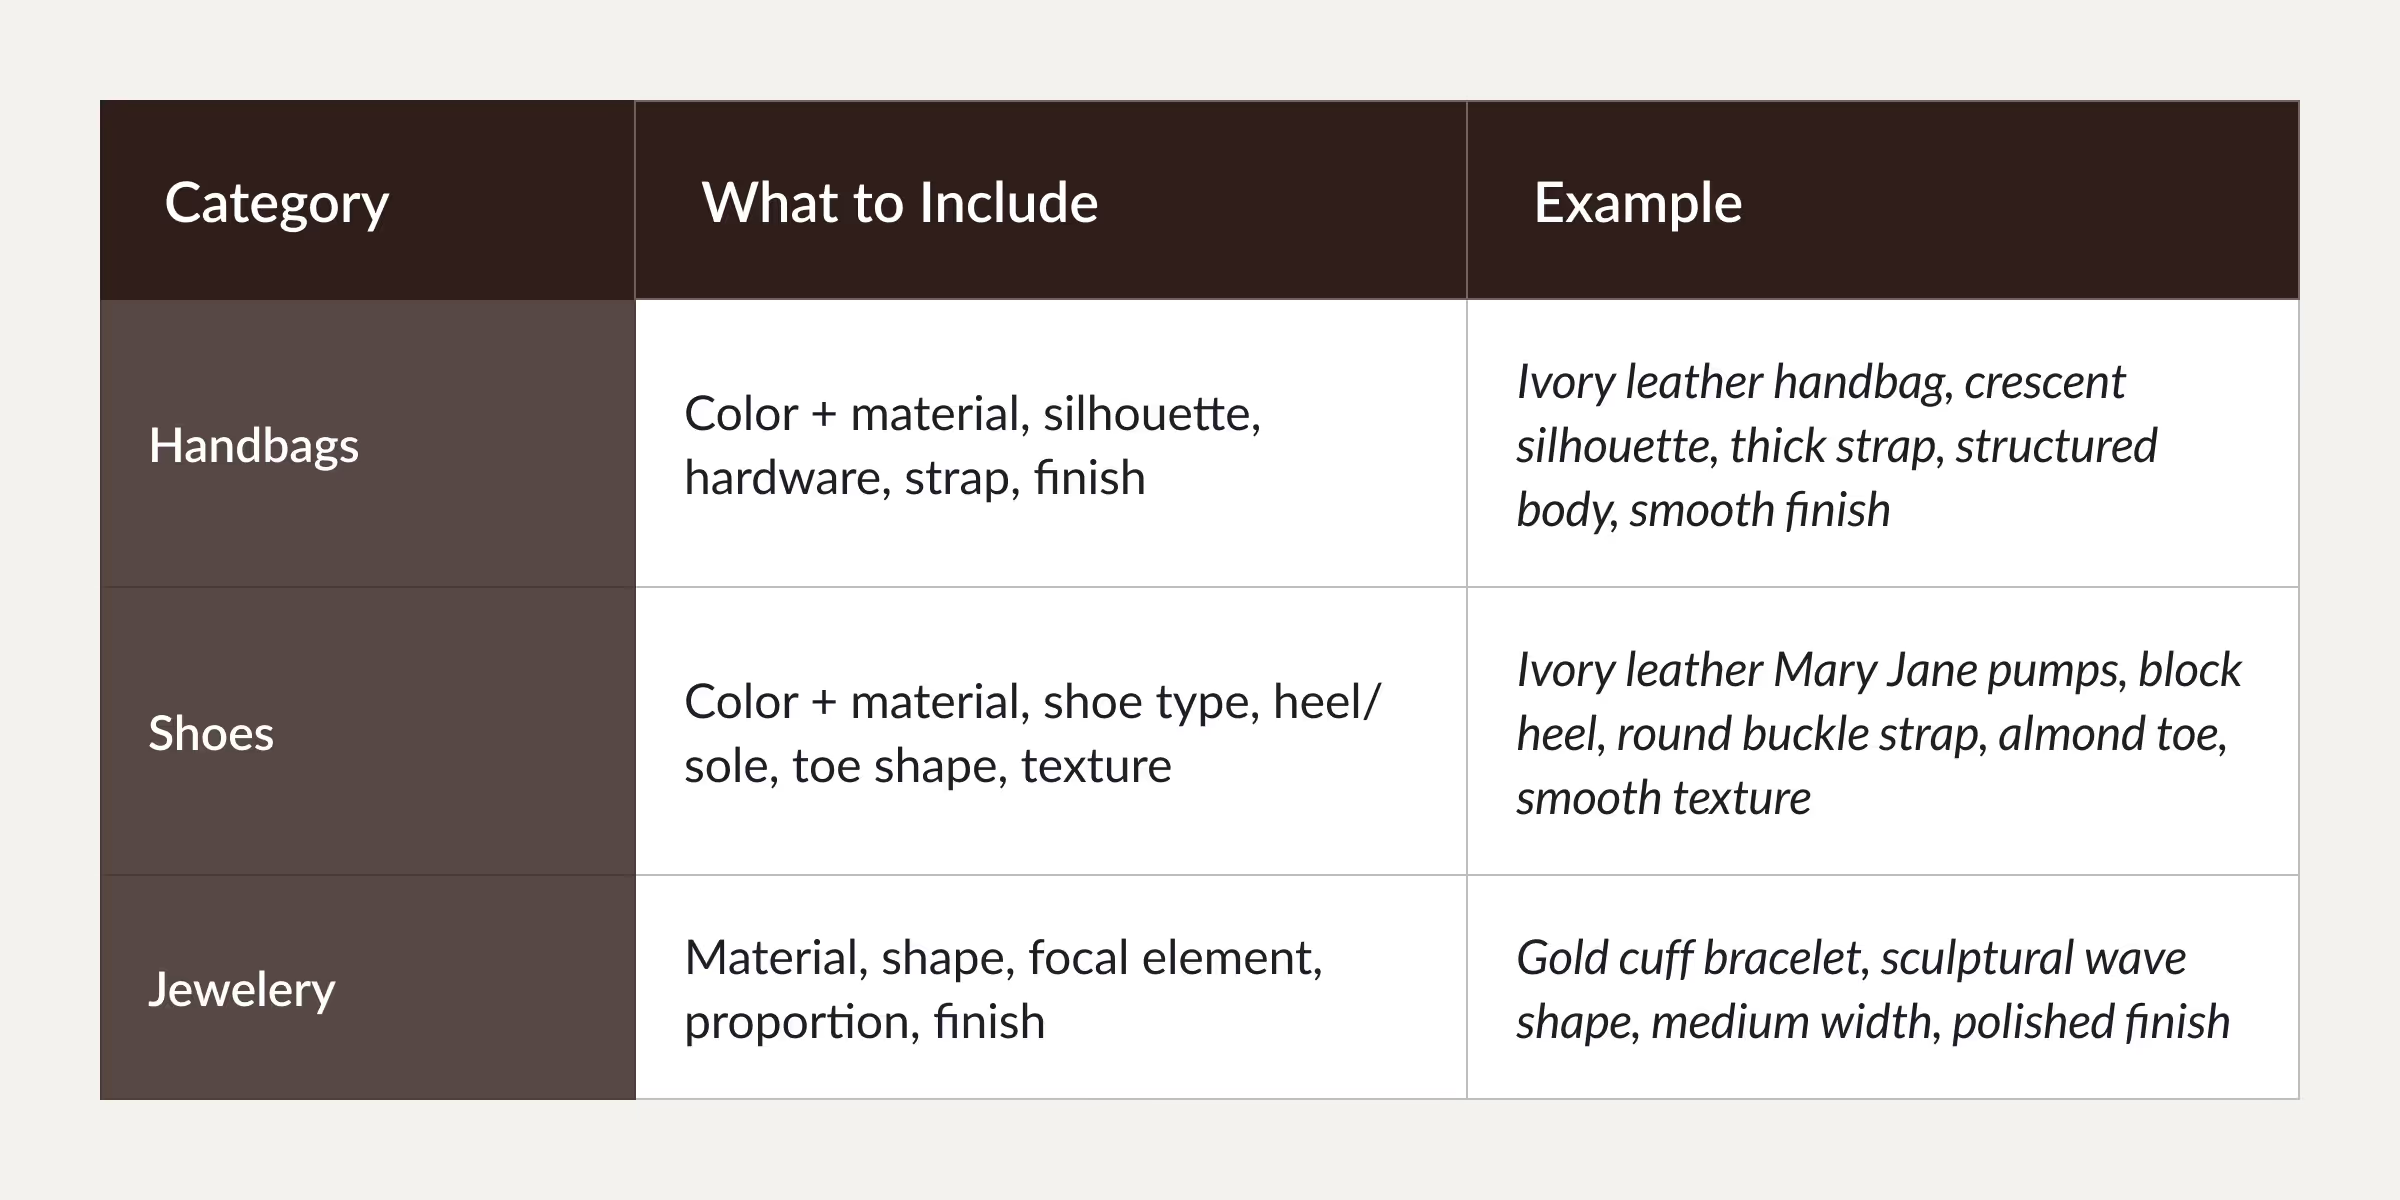
Accessory Prompting Quick Reference
Bonus: Use Multi-View Mode for Accessories
If you’re already using Multi-View Mode, it works beautifully for accessories too.
Generate consistent front, side, and ¾ views of handbags, shoes, and jewelry — perfect for:
- E-commerce PDP galleries
- Design reviews
- 360° concept visualization
By showcasing each product from multiple angles, you not only improve realism but also help boost conversion rates and user confidence on your product pages.
Heading 1
Heading 2
Heading 3
Heading 4
Heading 5
Heading 6
Lorem ipsum dolor sit amet, consectetur adipiscing elit, sed do eiusmod tempor incididunt ut labore et dolore magna aliqua. Ut enim ad minim veniam, quis nostrud exercitation ullamco laboris nisi ut aliquip ex ea commodo consequat. Duis aute irure dolor in reprehenderit in voluptate velit esse cillum dolore eu fugiat nulla pariatur.
Merchandising and design now create together live in meetings—no more weeks of back and forth.”
[[VP of Merchandising] blog-quote-ttl]
[[$30M alternative eCommerce fashion retailer] blog-quote-subttl]
Quote Name Style
Ordered list
- Item 1
- Item 2
- Item 3
Unordered list
- Item A
- Item B
- Item C
Bold text
Emphasis
Superscript
Subscript
3 Batch Workflows for Fashion Design: Faster Prints, Graphics, and Colorways
Discover Raspberry AI Batch Workflows for fashion design—batch apply prints, graphics, and colorways in one click to explore more options faster.

Why Raspberry AI is the Only Creative AI on the CB Insights 2026 AI 100
CB Insights evaluated more than 40,000 AI companies worldwide. 100 made the cut. Raspberry AI is the only one built for creative teams — and the data behind the selection tells a clear story about where fashion AI is headed.

The Design Process Of the Winners | Raspberry 2026 Campaign Challenge
Go behind the scenes of the Raspberry New Year 2026 Campaign Challenge and see how the winners built campaign-ready visuals using Raspberry workflows.
Sign Up for Our Newsletter
We’re constantly enhancing our product. Stay informed with the latest updates.
Ready to Design Smarter, Faster, and at Scale?
Start creating stunning photorealistic designs in just a few clicks.