


Add Prints to Garment
Add a print or pattern to a masked area.

UI Overview
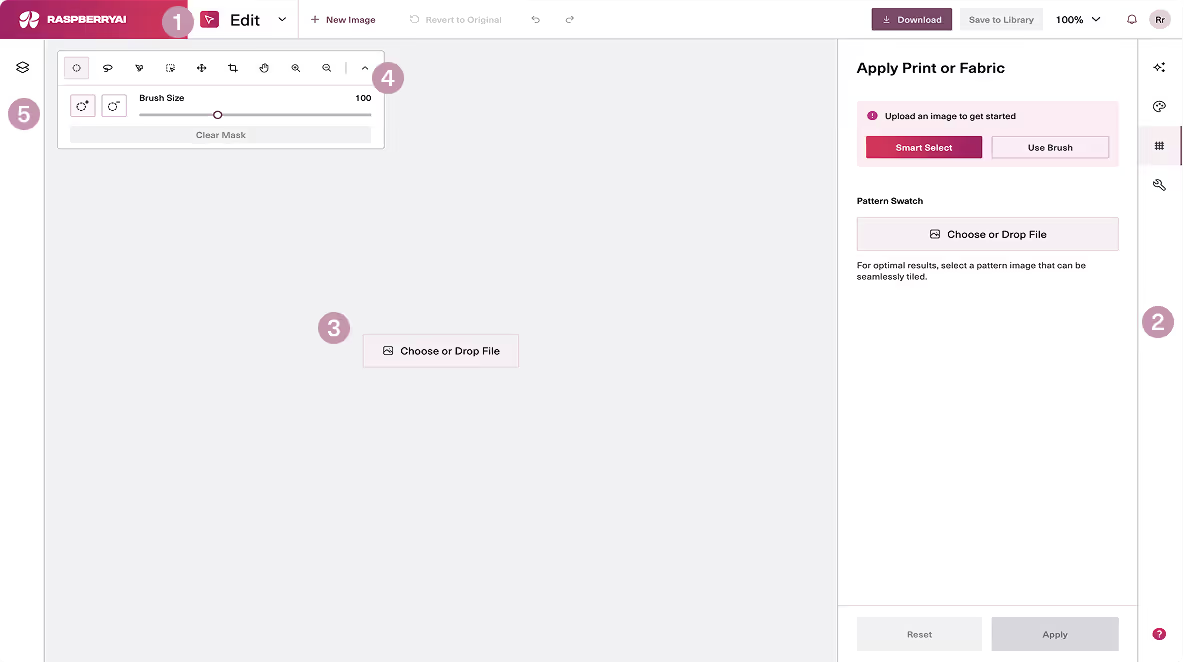
Top Bar
Right Tab Bar
Choose or Drop File
Tools

Elements
Upload Image
Create a Mask
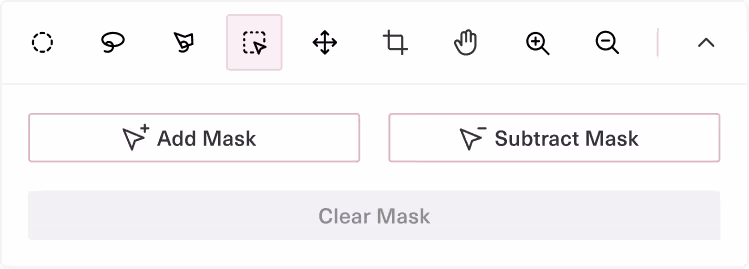
After uploading your image, masks are the next step in the Edit Module. You’ll Smart Select or Draw a mask over the area of your image you would like to change.
Smart Masks
Smart Masks allow you to select and de-select large areas of the image. If “Add Smart Mask” selects areas you do not want to change, you can click on those stray areas using “Exclude Smart Mask”.
Draw Masks
Draw Masks allow you to use your mouse to draw a mask over your image. You can use “Draw Mask” to add a mask and “Remove Mask” to erase areas of the mask.
Add Pattern Swatch

Upload a seamless, repeatable pattern for optimal results. When you upload a pattern, you’ll see a full size preview of the fill which you can adjust using the sliders below.

AI Enhance
When AI Enhance is clicked, the print will be altered and the shadows and folds of the image below will be added.
See this tool in action! Watch YouTube Tutorial >
Save Options
At the top right corner, you can save your image In Current Resolution, In Super Resolution for 4K, and Enhance and Download which doubles the resolution and adds more contrast and shadows. You can also Save to your personal cloud Library in Raspberry.