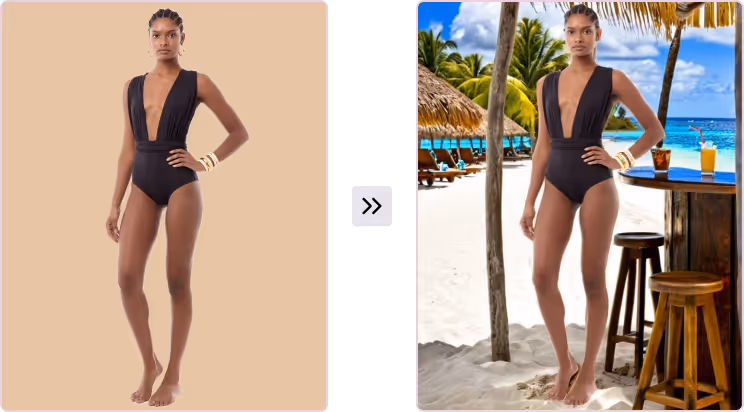
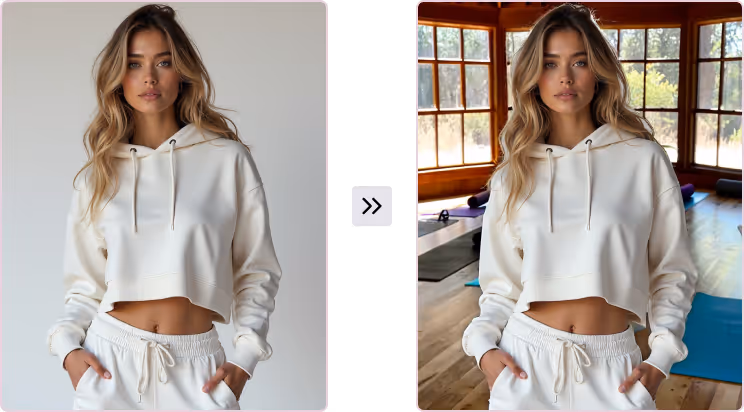
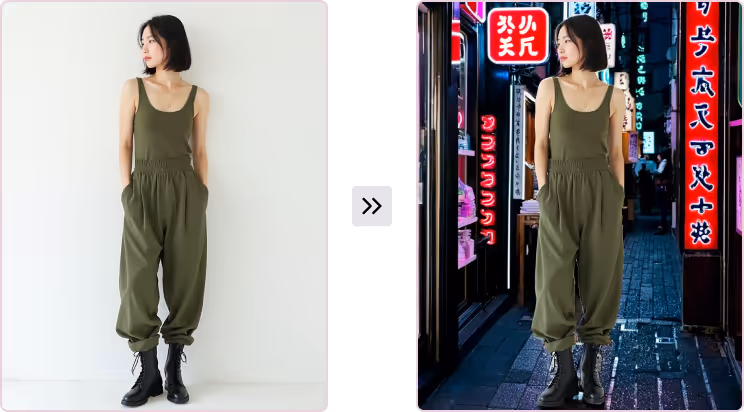
Background Generator
Adds backgrounds to images to turn studio photos to destination photoshoots
Select Tool
Upload Image
Your first Reference Image is required to use Background Generator.
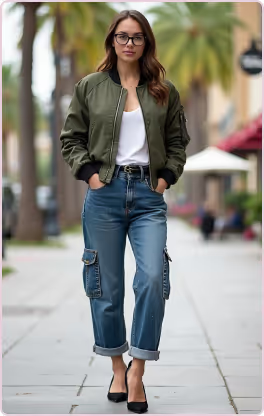
Your Reference Image should have a model or person with a neutral, clear background (example: studio backdrop, solid color background)
Uploading a reference image
Choosing the Right Reference Image
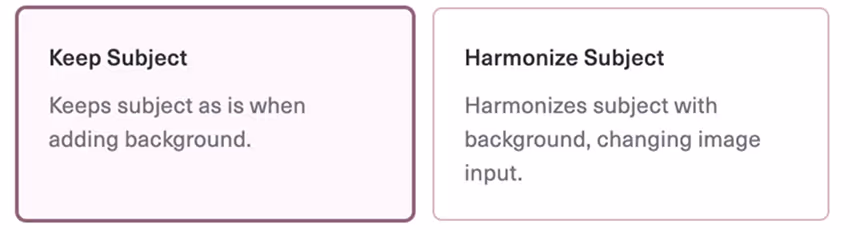
Keep or Harmonize Subject
Choose whether to Keep Subject or Harmonize Subject.
Keep Subject keeps the subject of the image input as is when adding background. This option will only add a background to the input image.
Harmonize Subject will harmonize subject with background, changing image input. This option will adjust various elements (such as lighting, tones, pose, and other details) to create a cohesive and balanced look.
We suggest trying both options to see which you prefer.
Write a Prompt
Clarity and Precision: Describe the background in detail, add in notes about location and lighting.
Tone: Aim for a descriptive tone with your prompts, avoiding command words such as “add”, “create”, “transform”, “change”. Be repetitive! Use repetition to reinforce details that may be missed.
Dimensions: The output will be the same dimensions as the input.
Describe the Product
We recommend prompts at least 5 words long. Describe exactly what you would like to see.
Writing a prompt
avatar description
Prompt Examples

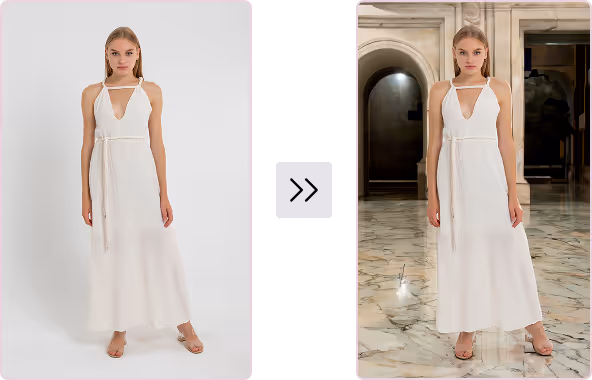
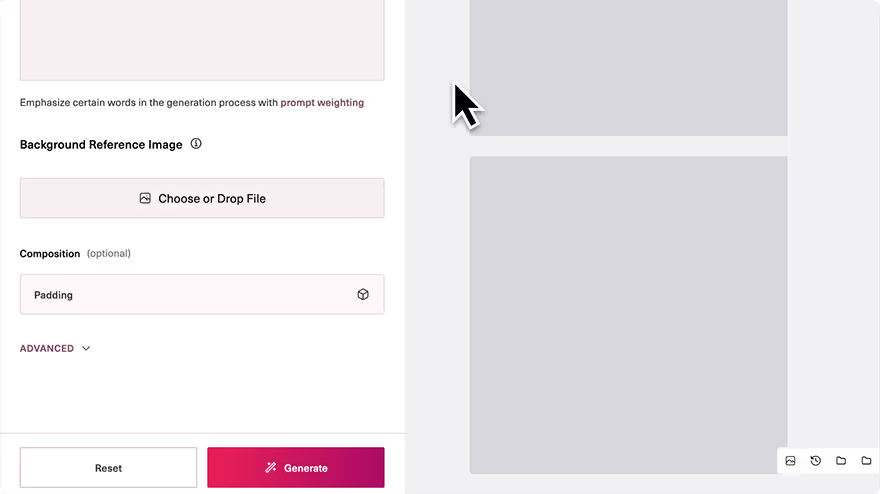
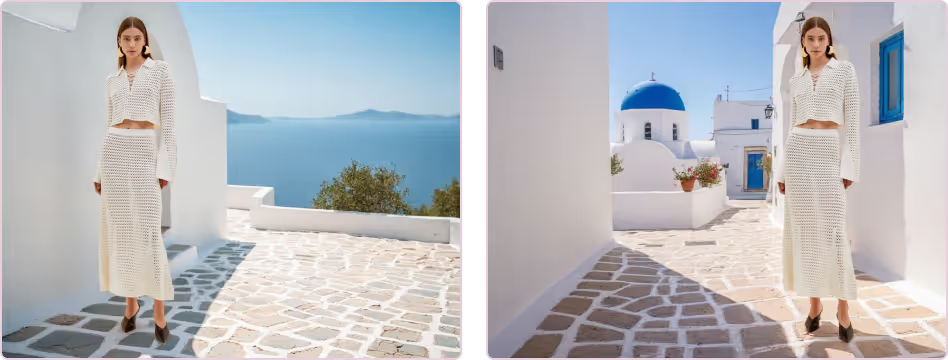
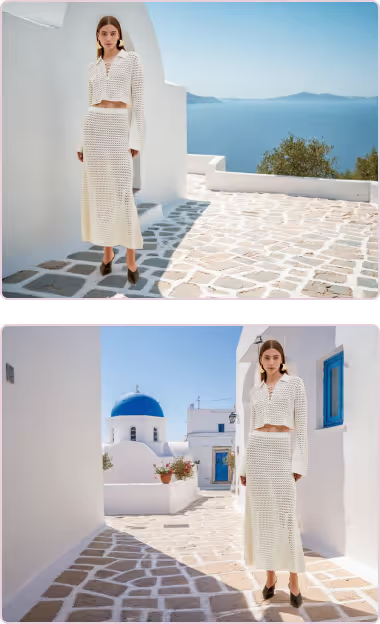
Optional Background Reference Image
You have the option to upload a reference image to inspire the background generation.
The platform will use the style and colors of the reference image to influence the outputs, but will not duplicate it exactly.
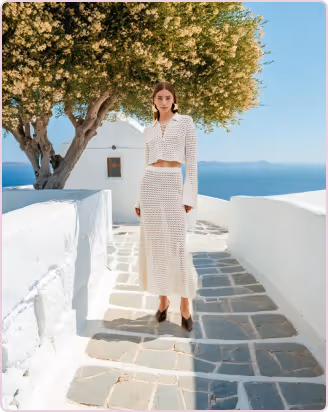
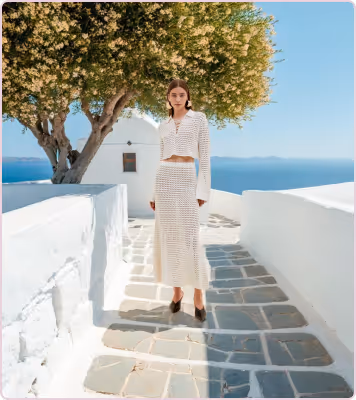
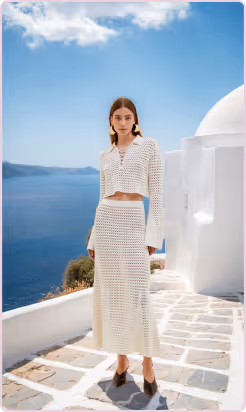
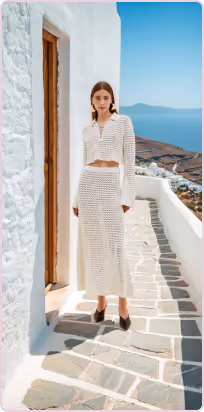
Example
Reference Image + Model = Output
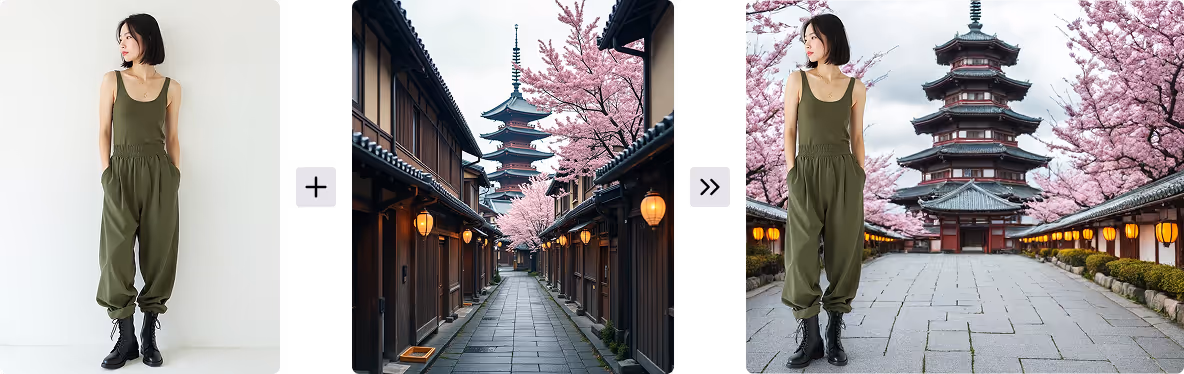
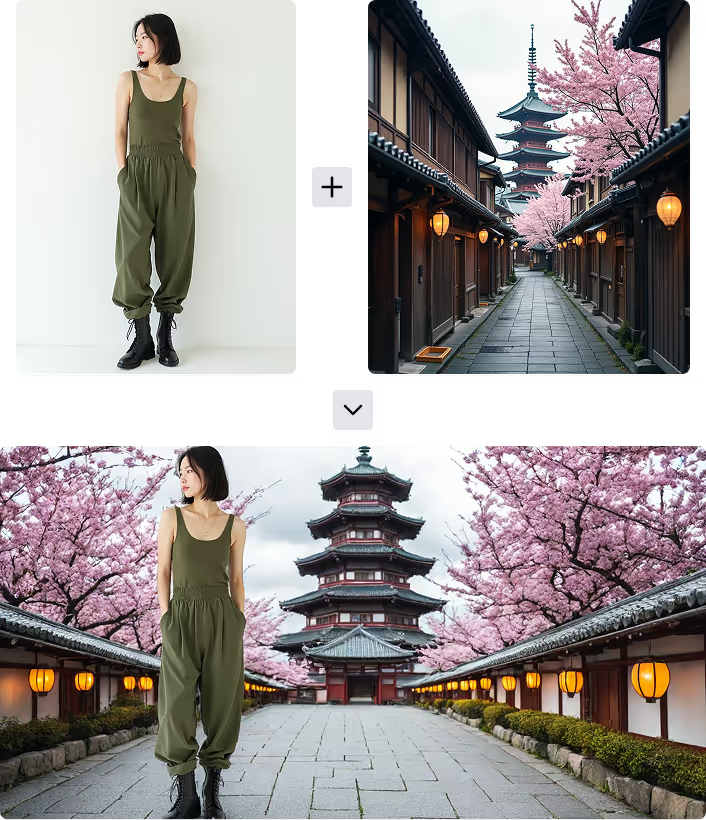
Note that the reference image influences the output, but is not replicated exactly.
Choose Padding
You have the option to choose the Composition of your image.
The presets allow you to choose between different padding options that dictate how the background image is padded around the original subject.
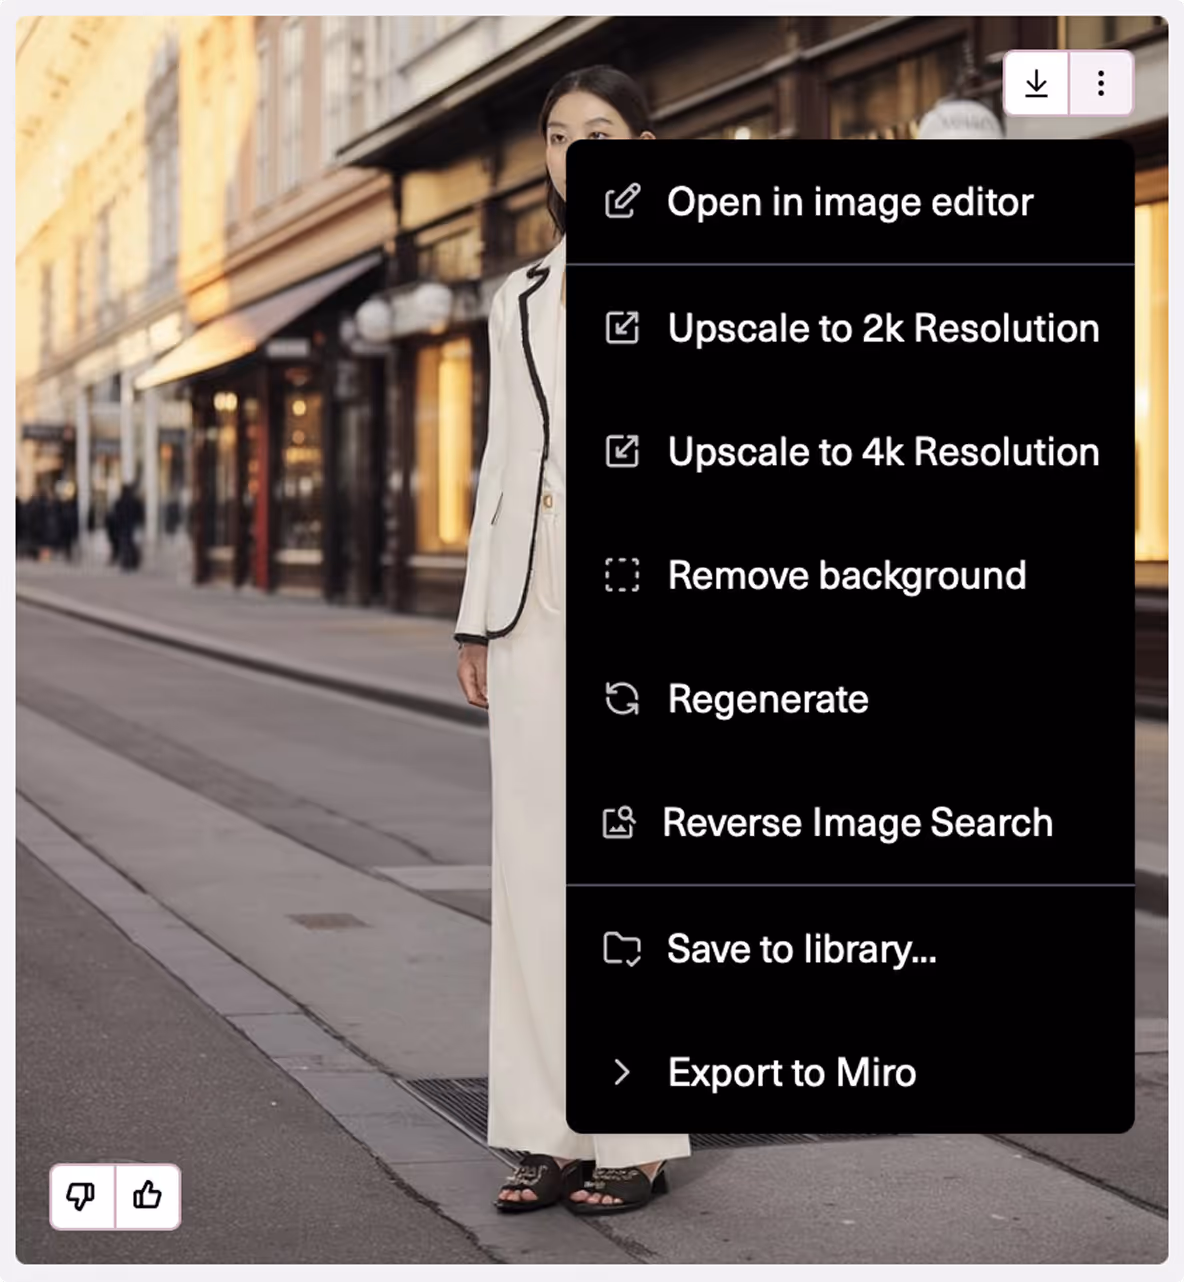
Save Options
Use the download arrow to access export options for your image.
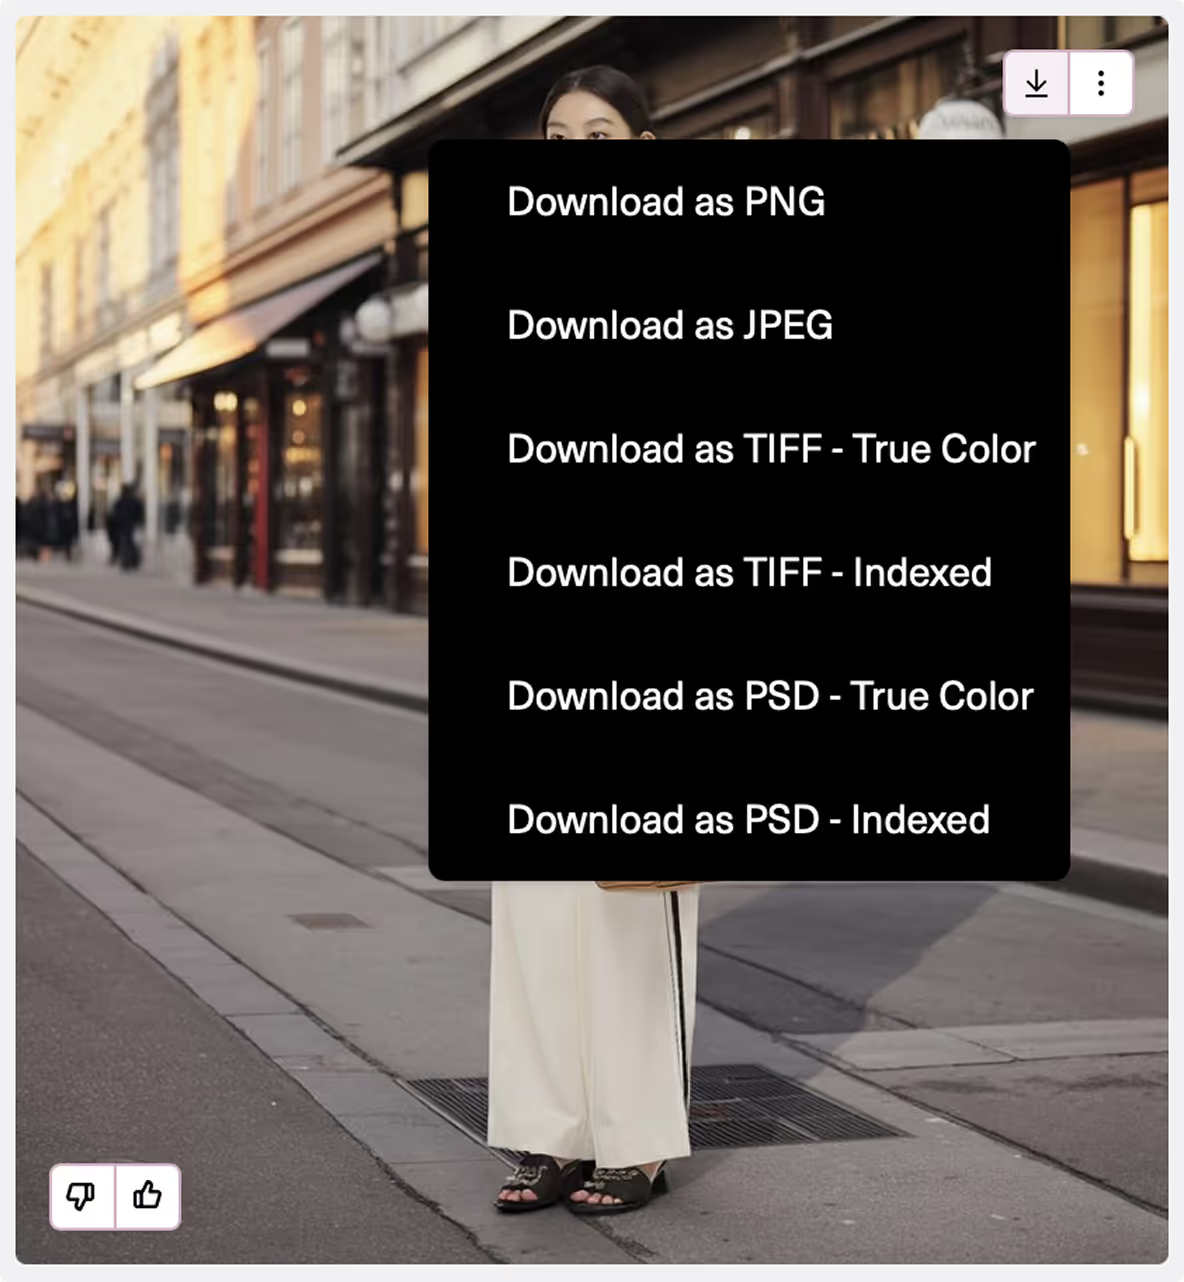
Click the three dots next to it for additional tools to continue editing your image.