Retailer Readiness Node
Batch Recolor in Boards
Create several colorways of the same style at the same time.
Pick all the colors you want, and Raspberry creates one output for each. You’ll get the whole range back together instead of recoloring one color at a time.
Batch Recolor is available in Boards. Your style needs to be rendered photoreal before you can recolor it.
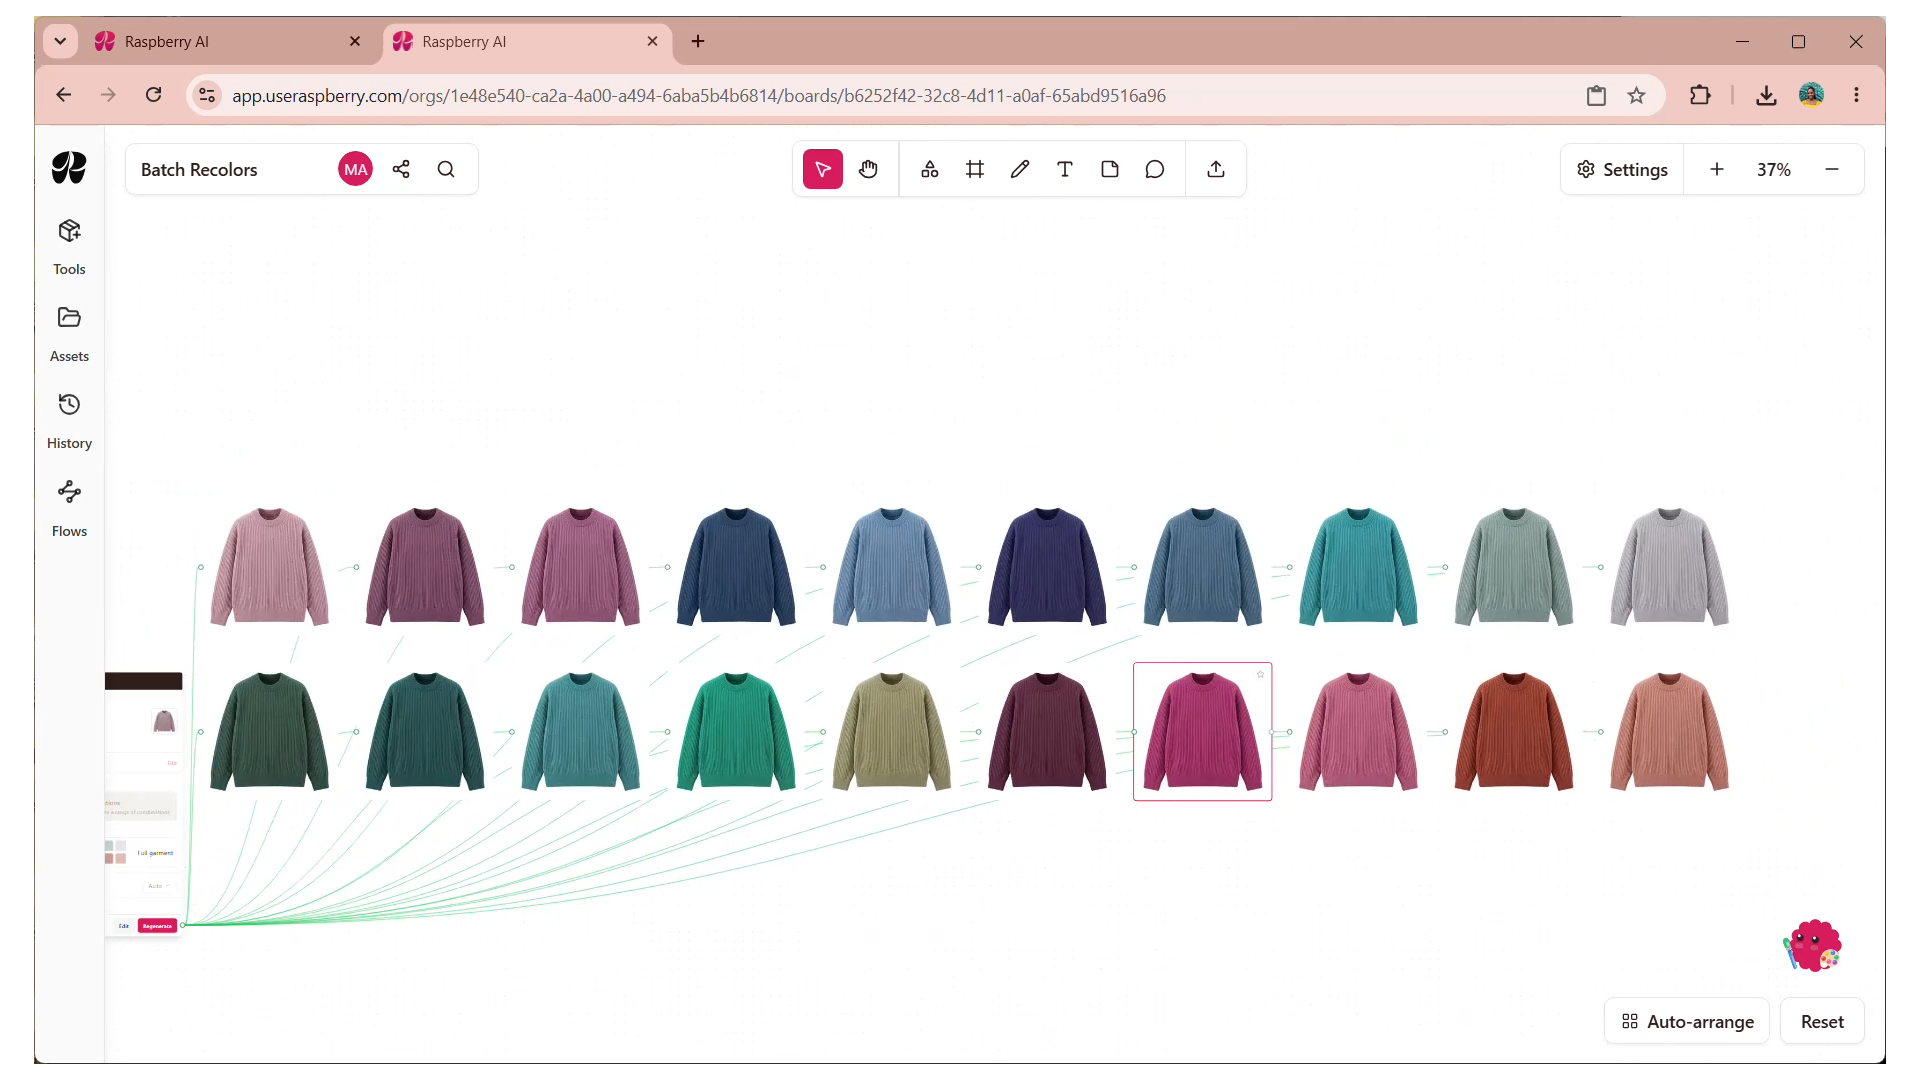
One style, every color you picked, generated together.
Ways to add color
You can mix and match any of these when building your color set:
Search by color name or code.
Saved swatches — .ase swatch files created in Adobe Illustrator or Photoshop and uploaded to Raspberry. Useful if your color standards already live in Creative Cloud.
The color picker, to sample a color directly. Raspberry finds the closest available match.
Your own values, entered in RGB, HSC, HEX, CMYK formats.
A reference image, uploaded for Raspberry to pull from.
Pantone Connect or Coloro, if your team has them enabled. You can search by code or color name.
Batch Recolor works the same regardless of where your colors come from.
Recolor an entire style
Use this when you want to recolor the whole style at once.
Open your board and select the rendered style you want to recolor.
Click Apply Color.
CLIP 1 - Entering the Apply Color Workflow. 0:19 - 0:23
Click Apply to Full Garment.
.png)
Build your color set. Search and add each color one at a time, or pull from .ase swatches you've already uploaded. Every color you add becomes one output.
CLIP 2 - Choosing colors. 0:36 - 0:43
Choose whether to show swatches on your outputs.
You'll get one output for each color you picked, so you can see the full range side by side and review them together.
Note: The option is called full garment no matter what you're recoloring. It works the same for bags, footwear, and accessories as it does for apparel.
Recolor specific elements
Use this when different parts of the style need different colors, or when something needs to stay exactly as it is.
A common example is a purse with metal hardware. If you recolor the full style, the buckle changes color along with the body. Metal hardware is usually a fixed color, not something you want shifting around with the colorway, so you'll want to leave it out.
Select the rendered style you want to recolor.
Click Apply Color.
CLIP 3 1:47 - 1:52
Select the individual elements you want to recolor. In this example, that's everything currently in leather.
Group the elements that should share a color. Here, the body of the bag and the strap are grouped together so they color as one.
Leave out anything that should stay the same. The buckle isn't in any group, so it stays gold.
CLIP 4 — Grouping, and what to leave out 1:52 - 2:09
CLIP 5 - Grouping 2:21 - 2:27
You can rename the group so it's easy to identify later.
Assign colors to your group. You can also add more colorways here.
CLIP 6 2:58 - 3:06
You'll get the bag in every color you picked, with only the leather recolored and the buckle still gold in all of them.
Which option to use
You want the whole style in several colors
Parts need different colors, or something needs to stay the same
You group the elements first
Solid-color styles, seasonal color stories
Color-blocked styles, hardware, trims, logos
Troubleshooting
My hardware changed color along with the rest of the style. You probably used full garment. Switch to individual elements and leave the hardware out of your groups.
Elements I grouped came back in different colors. Check that they're actually in the same group. Each group takes one color.
I only got one output. You get one output per color, so if you only see one result, only one color was added before you clicked Generate.


